Beeswax wraps are popular in the plastic free kitchen as a replacement for cling wrap. The good news is they are easy to make for only a few cents!
What are beeswax wraps
Beeswax wraps are made from 100% cotton or hemp with a coating of beeswax and a few other components depending on who is making them. They are washable, reusable, and biodegradable, and work by using the warmth from your hands to mould around the item you wish to wrap. The beeswax in the wrap then re-hardens to hold its shape when you remove your hands.
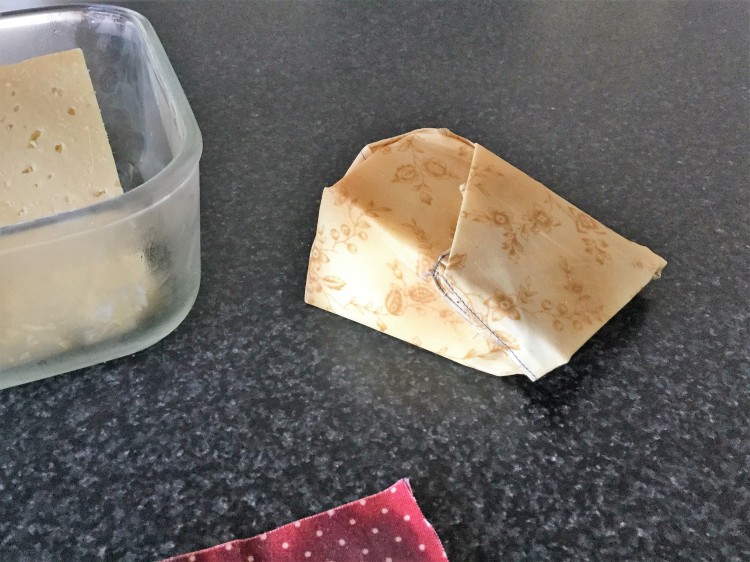
You can use the beeswax wraps to wrap sandwiches, cut fruit and vegetables, cheese, pastry, and cover bowls and containers. The beeswax has antibacterial properties but you shouldn’t use them to wrap meat because you can’t wash them in hot water, the wax will melt off. Simply wash in cool water with mild soap and hang to dry.
Beeswax wraps will last about a year if looked after well. When you are done with them you can pop them into your compost bin, or you can reapply beeswax to your homemade wraps to extend their life.
How to make beeswax wraps

Equipment
- Cotton or hemp fabric
- Scissors or pinking shears
- Beeswax
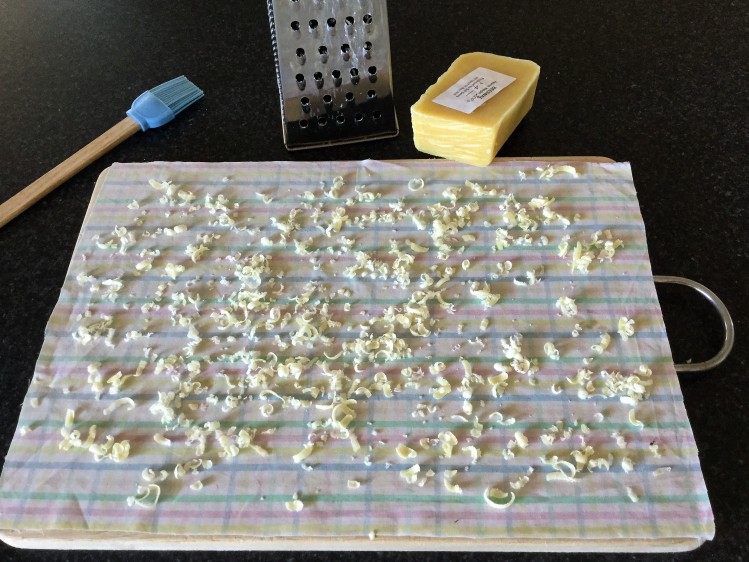
- Grater
- Pastry brush
- Tray
- Oven
Notes
I cut up a pair of old cotton pyjama pants that were in my scrap material cupboard. I found a few other pieces of material to use as well. If you really don’t have a source of fabric at hand, then look in an op-shop, they are filled with fabrics.
I found an unpackaged 200gram block of beeswax for $4 at a local craft and produce market. I only needed a few shavings from the block which would cost almost nothing.
Method
- Cut fabric to desired size. I don’t have pinking shears, so I quickly sewed a thin hem around the edges of some of my wraps to stop the fibres from coming apart.
- Lay fabric on a board or tray.
- Grate beeswax onto fabric.
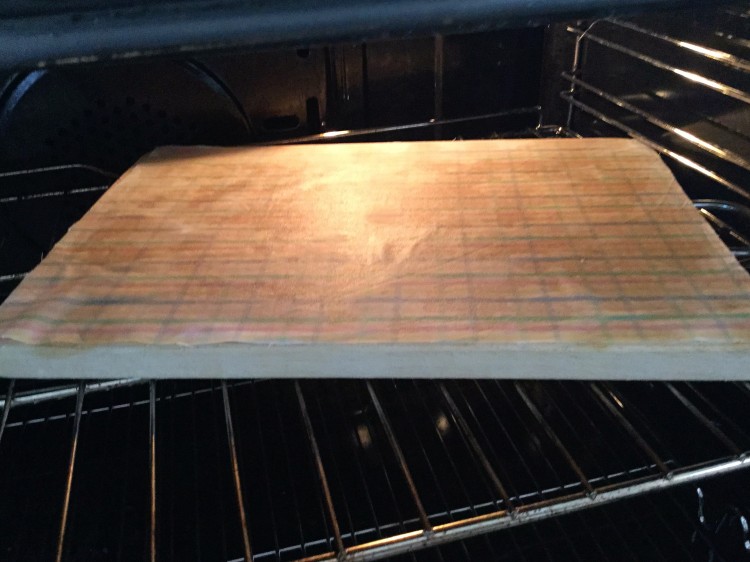
- Place in a low oven until beeswax melts.
- Use a pastry brush (I used my fingers carefully too) to spread the wax evenly and ensure complete coverage. Add more beeswax if necessary.
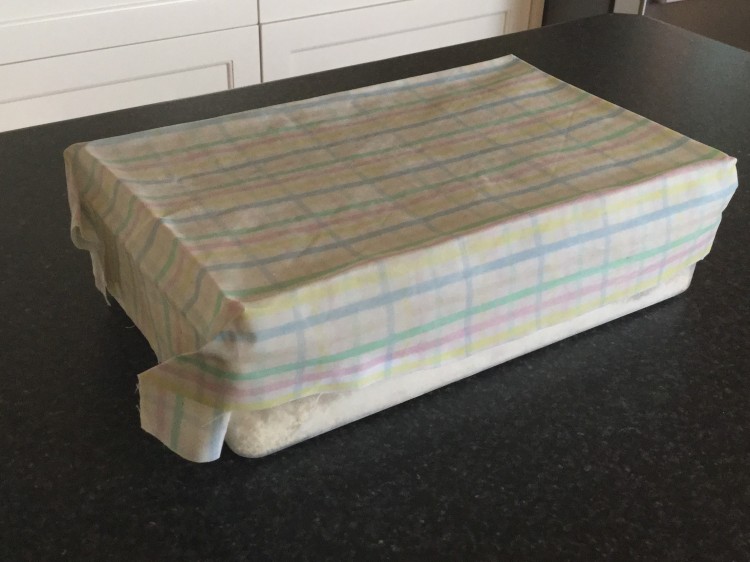
- Hang to cool before using.
The wraps will be a bit sticky and have a strong smell to begin with. This fades over time.
For more ideas on how to avoid plastic cling wrap check out my post Never Use Plastic Cling Wrap Again With These Reusable Alternatives.


After feeling guilty about unnecessarily using single use plastic wrap for too many months now, I’ve today spent the time to make my first batch of beeswax wraps in two different sizes using my own scrap material and your method (except with pinking sheers instead of sewing a hem). I suspect I’ll discover that I’d like some wraps in specific sizes for specific purposes/dishes, but only time will tell and for now my kitchen smells deliciously sweet. Thanks Tammy.
LikeLiked by 1 person
No problem Tessa, thanks for sharing this with me. I find I don’t need too many with the other methods I use too. But you’re right, you’ll figure it out and it doesn’t cost you anything except a little bit of time.
LikeLike
Been wanting to do these for ages. Such a great alternative! Guess whose jet lagged and sitting up at ridiculous hours catching up!
LikeLiked by 1 person
Hope you had a great trip. Looking forward to hearing about it some more.
LikeLike
I’ll be making these for sure! My father is a Bee Keeper so we have tubs & tubs of wax! I’d also love to learn what else we can use our wax for in our home
LikeLiked by 1 person
That’s handy! I’ve used the bees wax for lip balm and hair wax too. Both of those are on the blog. I’m sure there are lots more uses too. 🙂
LikeLike
how much did it cost you?
LikeLike
I cut up scrap material that I already had at home e.g. old PJs and I found an unpackaged 200gram block of beeswax for $4 at a local craft and produce market. As I only needed a few shavings from the block, the cost of a beeswax wrap would be almost nothing…. I never worked out how many wraps I could make from that one block of wax to be able to divide the $4 cost to get an exact amount.
LikeLike