It’s International Compost Awareness Week so it’s a great time to share the composting and worm farm set up I have just completed for the place we are renting at now. Everything has been made from reclaimed materials found on the property, plus a few extra items salvaged from my broader community. I’m very happy with the results so far, especially as they have cost virtually nothing but a bit of time. I will share my new composting set up in the next post and concentrate on the worm farm here.
This project started simply because there was an old bath tub on the property not being used, and a beautiful shady location opened up opposite my vegetable garden and house once I had done some pruning and removal of dead plants. It wasn’t because I really felt the need to have a worm farm; I’ve never used a worm farm before but I thought now was a good time to give it a go. I guess that’s one of the positives of living in several different homes over the past five years or so; each property is unique in its position in the landscape and the resources that are available, so it gives me an opportunity to try out different things.
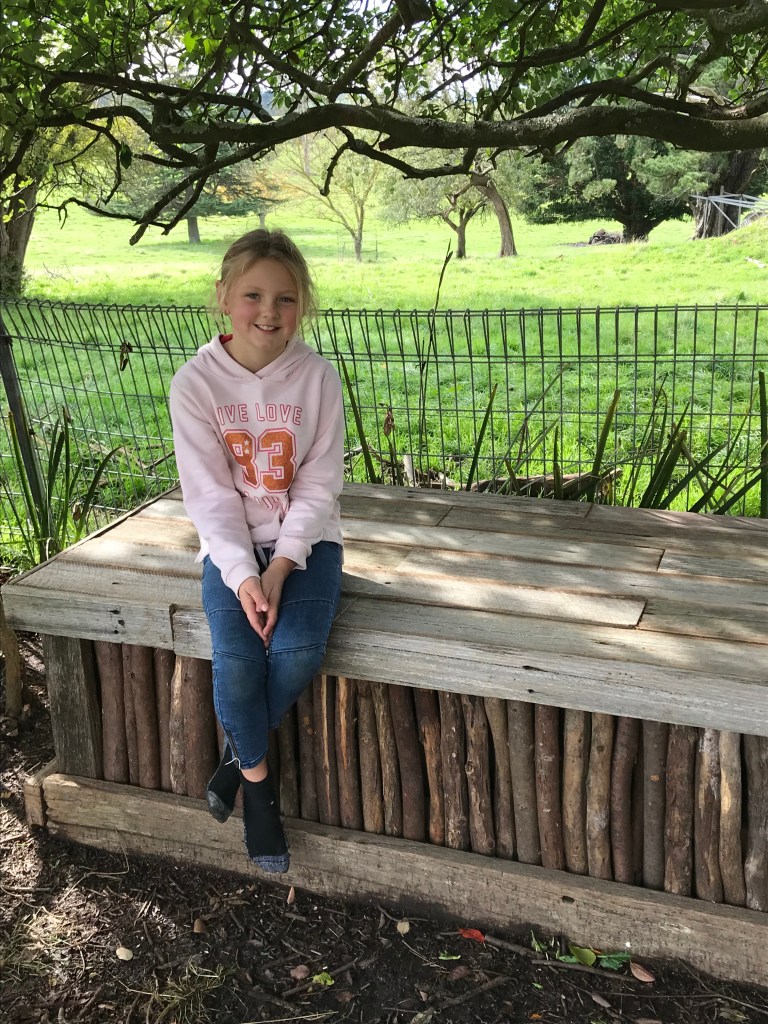
As I was going to build the worm farm in an aesthetically pleasing and functional location close to the vegetable garden and house, I wanted it to double as a seat or garden bench. I reckon I’ve achieved that. Here’s how I did it:

I couldn’t be bothered building a frame to sit the bath in, so to get started I used bricks from the spare brick pile to stabilise the bath and ensure it was level. This was a bit tricky as the bath is made from very heavy cast iron, however the weight helped keep it stable once it was in place.

Next I walked around our one and a quarter acre property looking for materials to use to cover my ugly brickwork. I found a few old planks of wood that weren’t much good, but because I’ve done so much pruning lately and a lot of the mature plants have been dropping limbs, I decided to use sticks.

Using sticks was more fiddly than I hoped because I had to keep searching for the straightest sticks, cut them to different lengths due to uneven ground, and try to make sure the gaps weren’t too big or that they weren’t leaning over too far. Eventually I reached a point where I was happy to stop fluffing about. Oh, but I cheated a bit. I didn’t do the back side which faces the paddock. Instead I made the bricks look nicer and planted some free plants I got from a lady nearby. The plants will thicken up and provide a nice background for the worm farm / work bench / seat. You can also see from the photo that I left a gap to be able to slide a tray (from an Esky) in and out from under the bath tub’s drainage hole. This is so I can collect the ‘worm wee’ to fertilise gardens. The drainage hole still has the drain fitting in it so the worm farm is rat proof from the bottom.

The next stage involved creating a base to sit off the bottom of the tub so that worm castings and organic material don’t clog the drain and the worm wee can flow out freely. To do this I used wire I found under the trees in the orchard. All this wire was used in the past to protect the trees until they were established.

I used an angle grinder to cut the strong wire to size and then wrapped it in chicken wire to reduce the gaps even further, and then finally used some hessian potato sacks (collected from a farmer a couple of years ago) to lay over the top like a sieve. The hessian also helps stop the worms from falling through and disappearing.


Next I began preparing the worm farm for the addition of worms. I added a layer of old hay that was in the top paddock then a layer of brown leaves and then a layer of compost from my old compost heap. This was topped off with a layer of cardboard for a bit of protection.


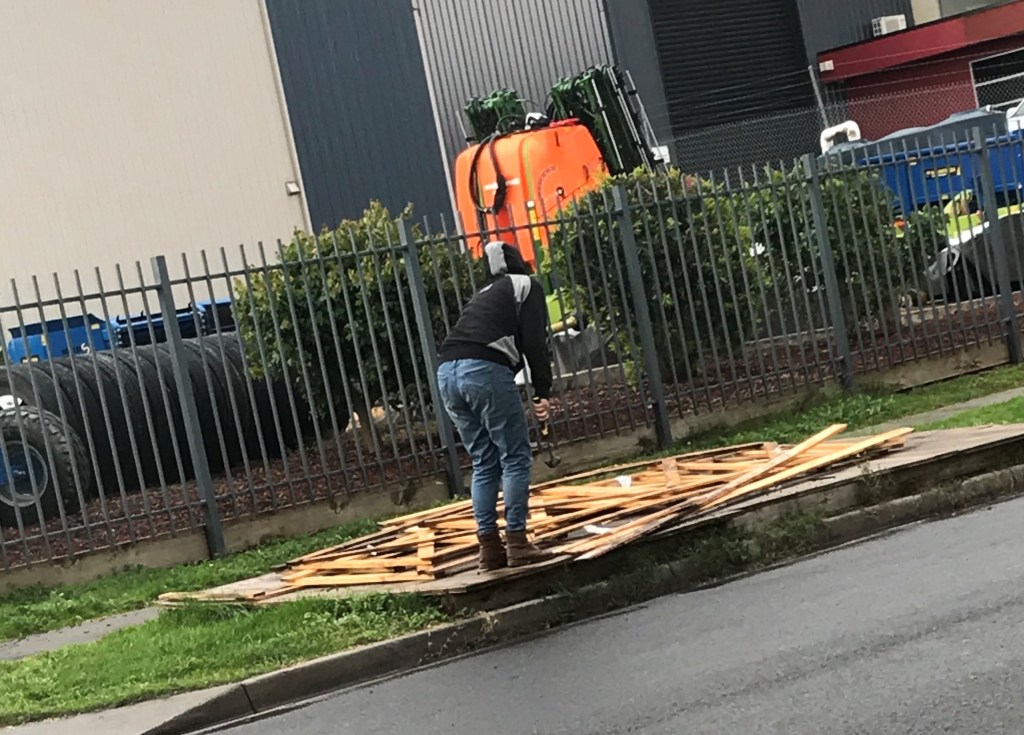
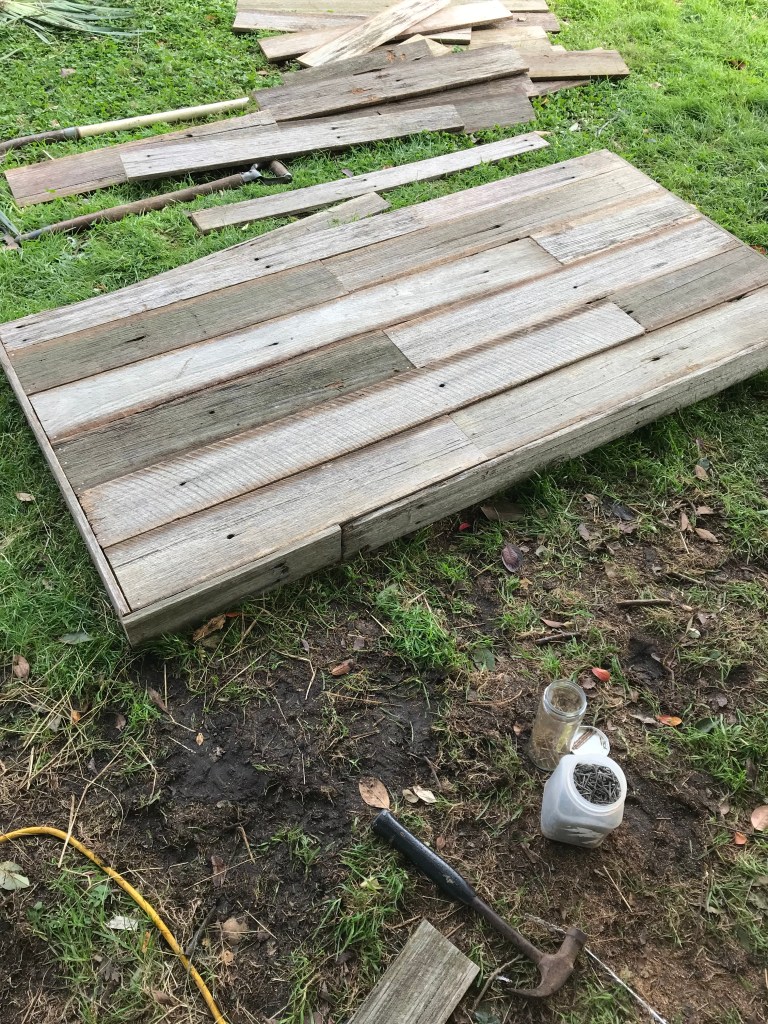
Up to this point I had managed to build the whole thing from stuff already on the property, however I had to start searching further afield to build the lid. I ended up finding hardwood fence palings and other timber for free by the roadside. I got my kids to help me load it into the car and when we got home I started fashioning it into a lid. Again, I couldn’t be bothered going to the extent of building a hinged lid so my lid simply slides off over the back or I can slide it sideways or I can lift it up and pop things in because it’s not too heavy. In saying that, it is heavy enough to securely fit over the sides of the tub and it is such a good fit that I hope the worm farm is mice and rat proof from the top as well. There’s always the possibility that vermin could chew through the lid but at least I would notice and be able to deal with it quickly.


Time for the seat test! It held us both. 🙂
The only thing left to do is get some worm farm worms and start using it. Have you made your own worm farm? Happy for you to share some tips and tricks and your experiences.


wow! this is beautiful and useful.
LikeLiked by 1 person
Thank you, I’m very happy with the outcome, especially as it was all done on the fly.
LikeLiked by 1 person
🙂
LikeLike
I am so impressed!!! Although we have a wonderful worm farm, my husband made it as I am not at all practical like that.
LikeLiked by 1 person
Thank you! I’m a bit ‘slap and dash’ with my projects 😂 but I hope it shows that we don’t have to over complicate things. If an ugly stack of bricks does the same job as a perfectly crafted frame then I’m happy! 😄
LikeLike
Great job Tammy. I started a couple of small ones years ago and they are still going strong.
I just bought the smallest top up pack of worms to get me going at first but only coz I was impatient.
You can actually just find your own worms in the backyard, the ones at the surface under leaves and composting material are compost worms usually. Find some of them to throw in there and if conditions are right they will stick around and multiply. Eventually you have more than needed and can use some to start another one or put a few in potting mix along with their castings and let the potting mix sit sealed in a bin for months occasionally feeding the worms. Come next spring it will be the best potting mix you’ll ever use. And I just throw my old potting soil back in along with a few new worms and let it rejuvenate in the tub. It’s the larger ones that are the earth worms but they are usually deeper in the ground unless they come to the surface after rain or whatever so even if you buy worms it’s always good to add a few local ones from your own garden as well I’ve found. And don’t worry if you get heaps of those butcher boy things, they help break down all the woody material and help the whole cycle.
LikeLiked by 1 person
Thanks Andrew. I was thinking the same thing about the worms and the ones I have in there from my compost seem to be happy so I might wait and see if they multiply. My compost was just a low heap on the ground with quite a few worms in the top layer. Everyone says to buy worms but you’ve given me the little push I need to try with what I have already.
That’s a great tip about the potting mix, I’ll do that!
LikeLike
You are so resourceful. Well done.
LikeLiked by 1 person
It looks great! We once had a bath as a no-dig garden in a house in St Kilda. The maisonette houses next door were being demolished, so we asked the crane driver to drop it over the fence in our concrete back garden. We found out later that he’d buried a lot of stuff on site, which he wasn’t supposed to do, so we did the owner (a famous-in-Melbourne photographer) a favour. It worked very well as a garden, but we had pots along the side to disguise it a bit. Your approach is much better!
LikeLiked by 1 person
Thank you, I had fun making it. Great idea to use the bath as a no dig garden in that situation!! I hope that inspires some ideas for other people in a similar situation.
LikeLike
That is seriously so impressive. Well done.
LikeLiked by 1 person
Thanks Elaine. 🙂
LikeLike
The is one spectacular worm farm. You should be proud of that achievement, and thanks for the instructions on how to build it.
LikeLiked by 1 person
Thanks Geri. It’s working great as a worm farm and a garden table.
LikeLiked by 1 person
This is just awesome – so impressed – the most beautiful worm farm I’ve ever seen. Kudos!
LikeLiked by 1 person
Thank you so much 🙂
LikeLike