This post is pretty simple, but that’s the beauty of it. I’ve designed my composting system to be so simple that there’s no reason I wouldn’t use it. Here’s what I’ve done and why.
At our previous homes we kept chickens which ate lots of scraps. The leftovers where either heaped near the chicken yard away from the house or buried in the adjoining vegetable garden. Unfortunately, when we moved here we were caught off guard with very cunning foxes and devastatingly we lost our flock in the blink of an eye. We’re not prepared to keep more chickens until we have the ability to build them a fortress! This means we have more kitchen waste to compost now which makes vermin more of a consideration. We also have to consider all the possums and other wildlife in our garden. Burying the kitchen waste is still a vermin proof option but because there is more of it, it’s a pain to do it so often. I need to contain our compost and make it rat proof.
Another reason I need to make our compost system rat proof is because I’ve plonked our vegetable gardens right up against the house with access from the kitchen, laundry and bedroom. Compost systems should always be set up close to the gardens where the compost will be used, for greater efficiency of time and effort. I certainly don’t want to be inviting rats and mice into the house by providing them with an easy meal at the doorstep.
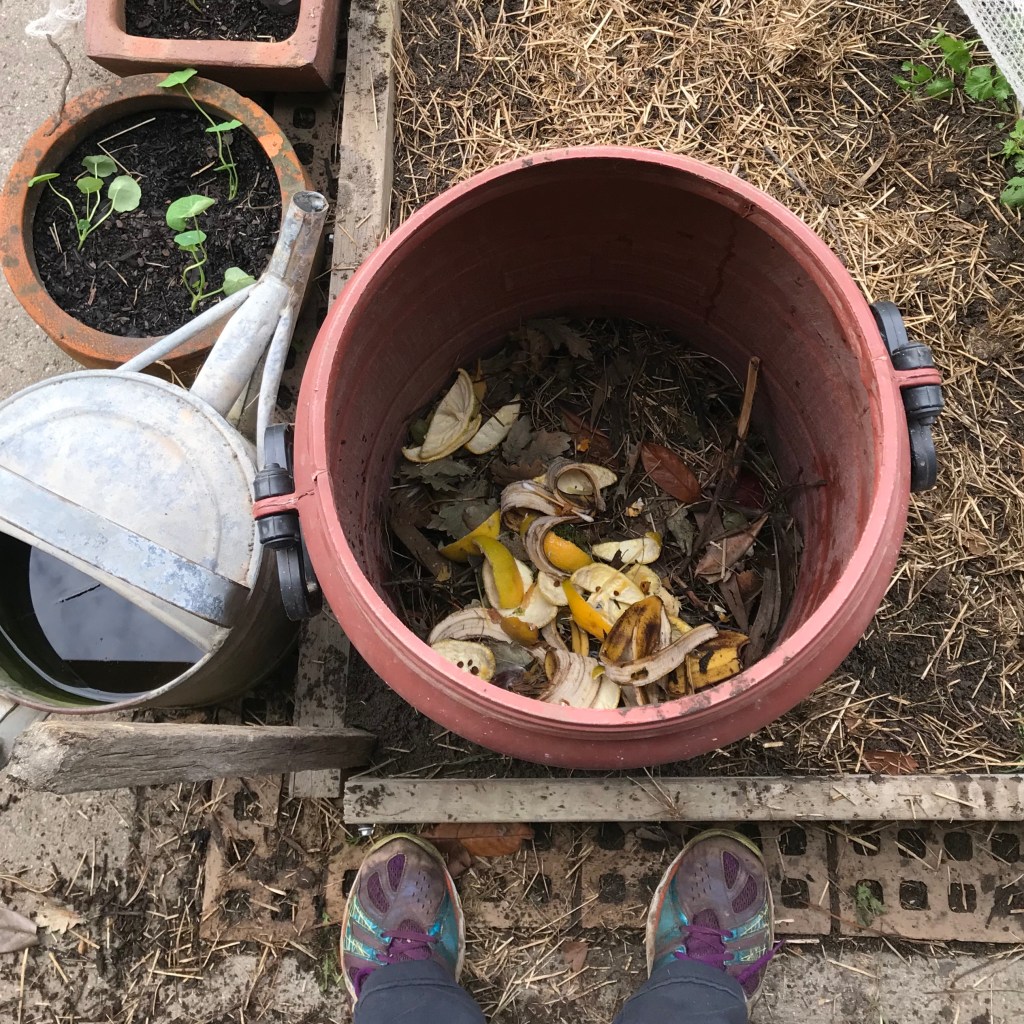
It’s also important to place compost systems in highly convenient locations to ensure day to day use. Having my vegetable garden beds close to my kitchen door is a great opportunity to position my compost system close to the kitchen door too. This means I am much more likely to empty the kitchen caddy into my compost bin every day and in any weather conditions.
I have found that when the weather is cold and wet (which is often in South Gippsland) little things like whether I have to walk across wet grass, put shoes on or go out in the rain or fog can stop me from emptying the kitchen caddy as frequently as I should. For me this means the food waste ferments away on the kitchen bench and becomes pretty stinky and gross to clean (I don’t use caddy liners) but for other people it means they put their compostable waste in the landfill bin instead. So where you put your compost system really needs to be somewhere that works for you as well as your garden.
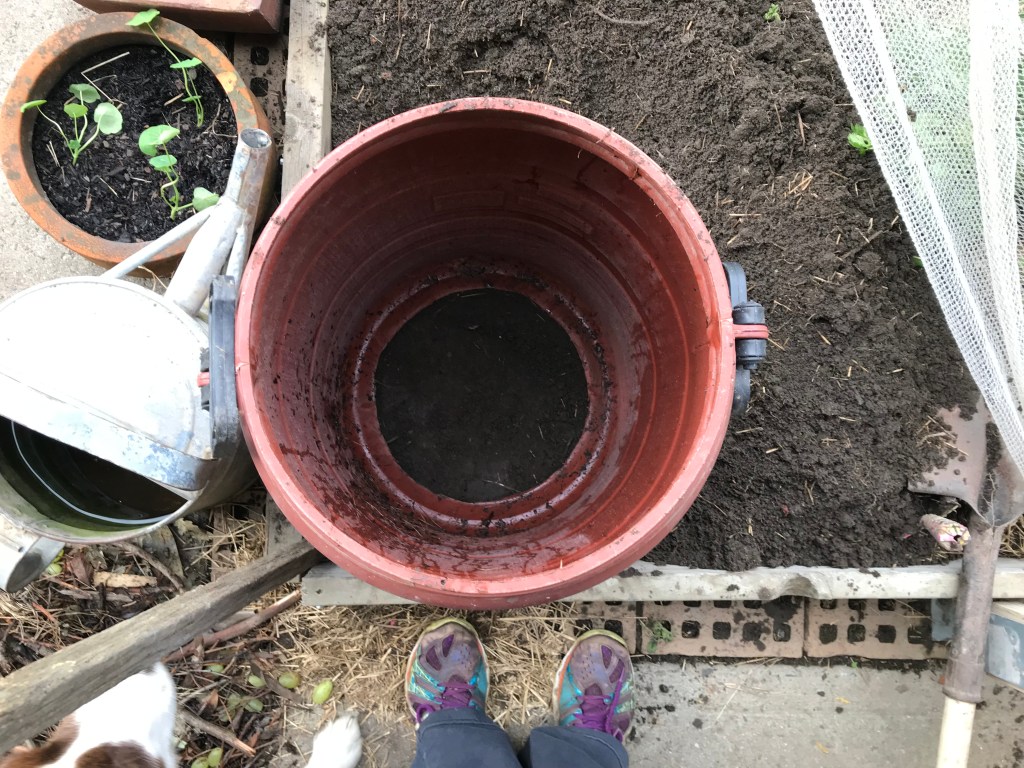
With all this in mind I decided to use a standard compost bin with an open bottom and a lid on top. But I didn’t buy those large black or green plastic bins for a couple of hundred dollars from a garden centre. Instead, I used the 70 litre plastic barrel that had held our chicken feed (it originally came from the farm we lived on two years ago). I also looked on Marketplace and found a nearby seller selling empty 220 litre olive barrels which looked exactly the same except bigger, so I got a couple of those for $10 each. I cut the bottoms out of the barrels using an angle grinder and voila, cheap compost bins made from repurposed barrels!
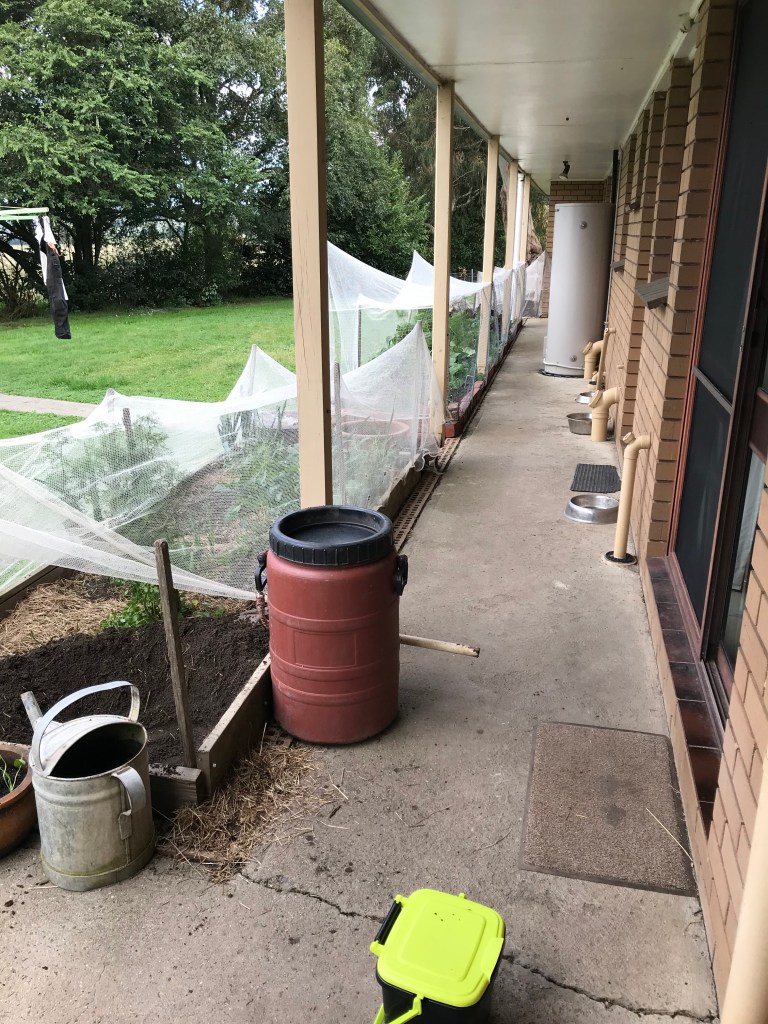
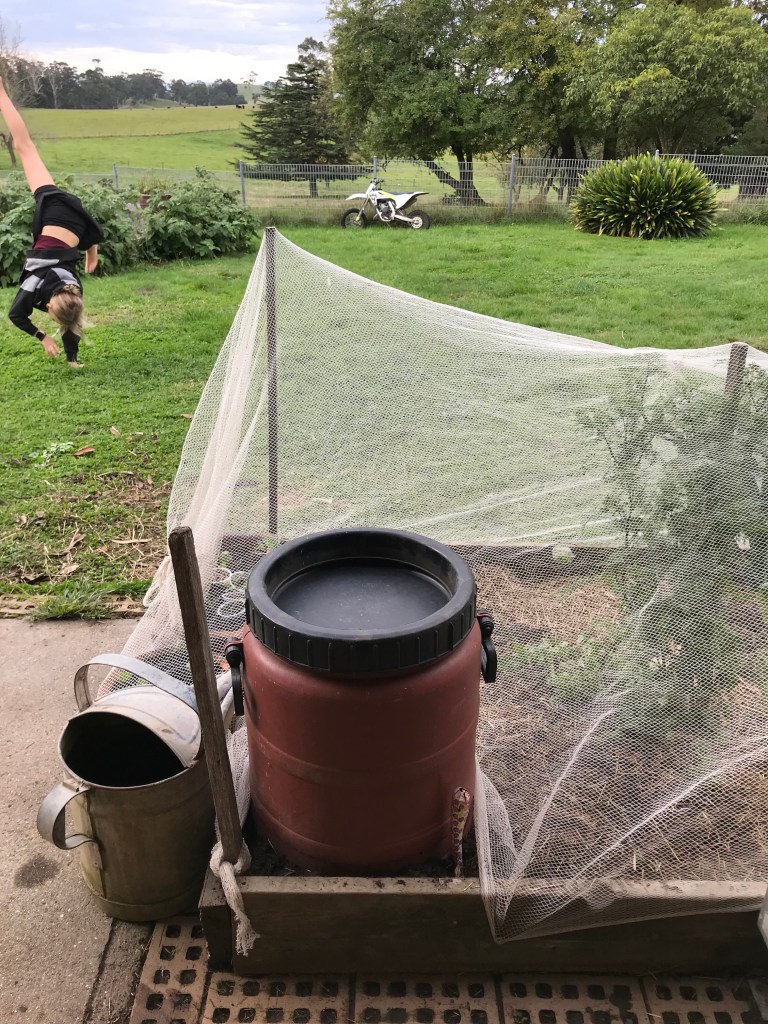
I placed the bins directly into my garden beds with one immediately in front of the kitchen door and another further down. Note how they are all accessible from an undercover path; and by being in places that I regularly walk passed, it’s easy to keep an eye on them, turn them occasionally and so on. Also note how I have buried the base of the compost bins 15cm into the soil. This is to stop rats and mice from digging under the base and making a home in the compost bins. You could also attach wire to the bottom if you wanted to.
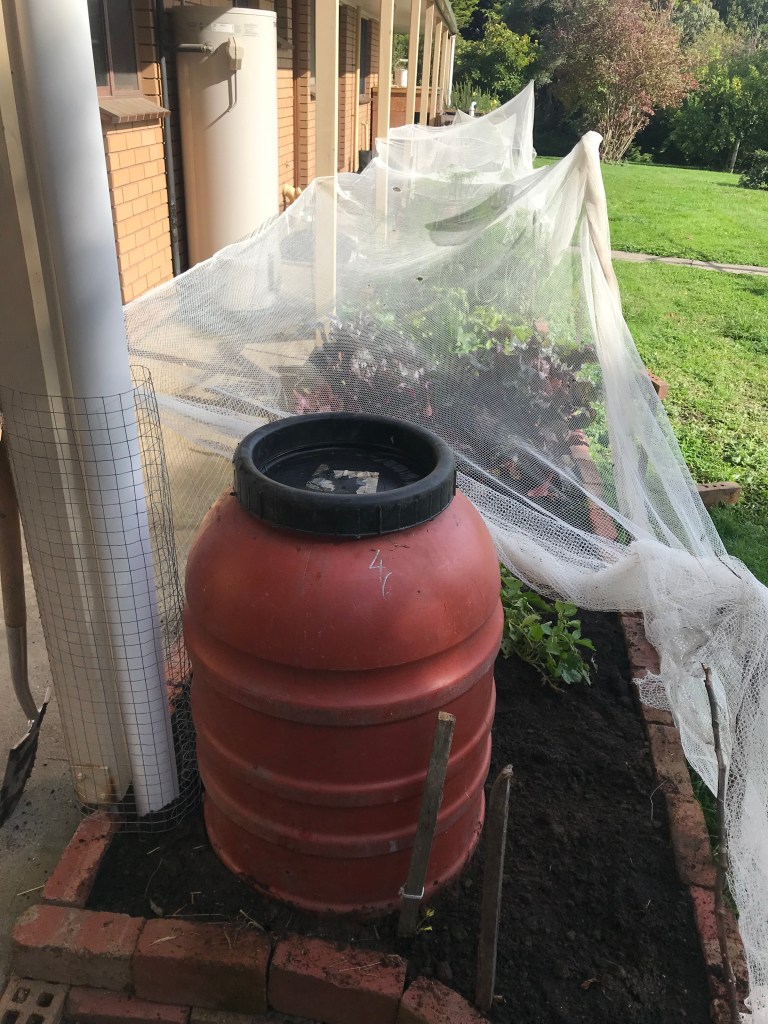
When each bin is full and has produced useable compost, all I have to do is pull out the compost bin and spread the compost over the garden beds. No carting in barrows or heavy lifting required!
I have lost a little bit of planting space with this method but I am hoping that the convenience and effectiveness of this system far outweighs the loss and results in a more productive garden. Time will tell! 🙂


Absolutely brilliant idea. I have used these repurpose bins before to make huge pots for hydrangeas.
LikeLiked by 1 person
That’s a great idea. Other types of pots can be so expensive, especially when you want something big. I’m going to keep that in mind for some plants I’m going to bring into the garden. Thanks.
LikeLike
You rock. Rats are a real problem in my compost bin (chewing through brittle plastic) but this simple, clever, cheap and easy solution of placing robust bins were needed is the solution.
LikeLiked by 1 person
Thank you. Yes, there’s nothing to really loose in this situation and if rats do chew through the plastic I should notice it quickly and deal with the situation as soon as possible.
LikeLike
We at Biomaster love what you are doing. If you want to speed up the process to 4 weeks, our Compost-It product for kitchen and garden waste will do the job. If it is entirely kitchen scraps, use the Kitchen Waste Wizard which is launching next week as a spout pouch. Give us a call if you have any questions.
LikeLike