Warning: This post contains images and descriptions of home butchery. Please do not continue reading if this will disturb you. I do not provide detailed descriptions and photographs of every stage, however I wish to provide enough information to reflect what is involved for those who are truly interested in providing their own meat and how it can be stored.

Over this past week our home grown heifer, Grace, was home killed and home butchered. She had a stress free life and was well looked after. She also had a stress free death in the paddock where she was eating grass, which was swift and immediate. Honestly, I couldn’t have asked our mobile butcher to provide a better death and I am so thankful for this. As meat eaters, we want to be comfortable with the ethics and environmental implications of what we eat, so given we have the ability to grow and process our own meat, this means of feeding ourselves suits us. And, seeing the killing and butchering process up close makes us more accountable and responsible for the meat and other resources provided by the animal.
What is the process?
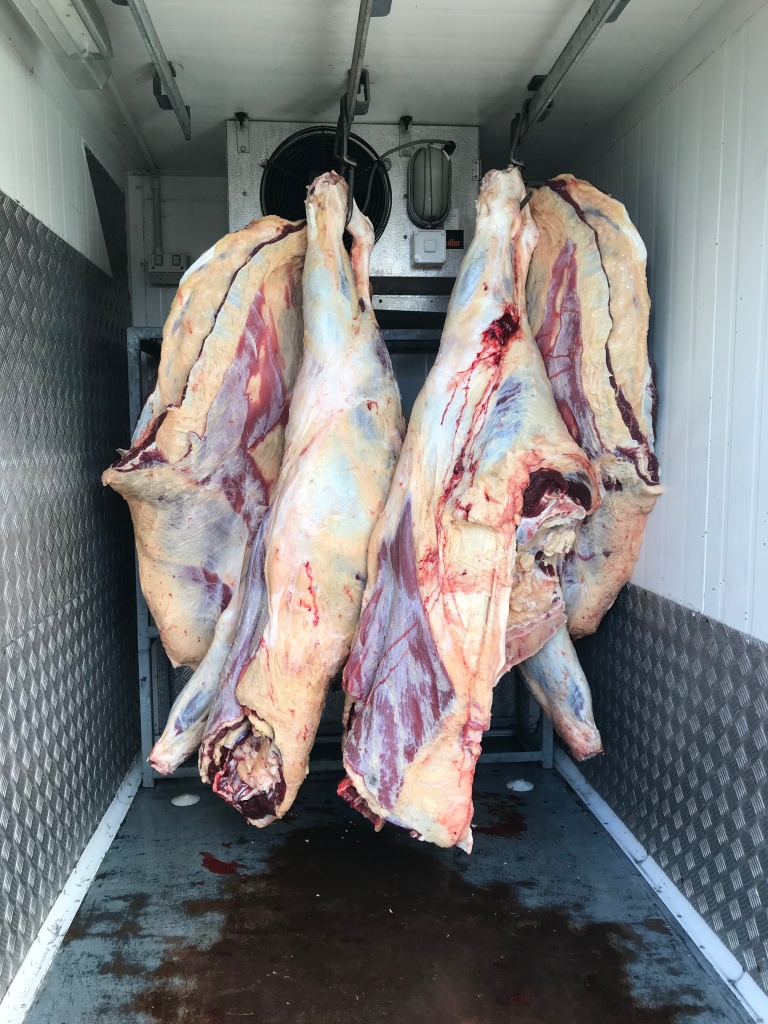
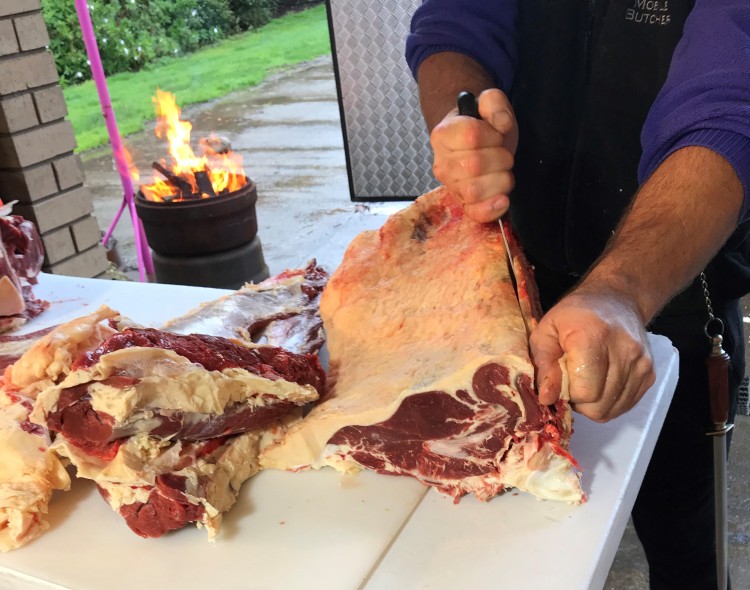
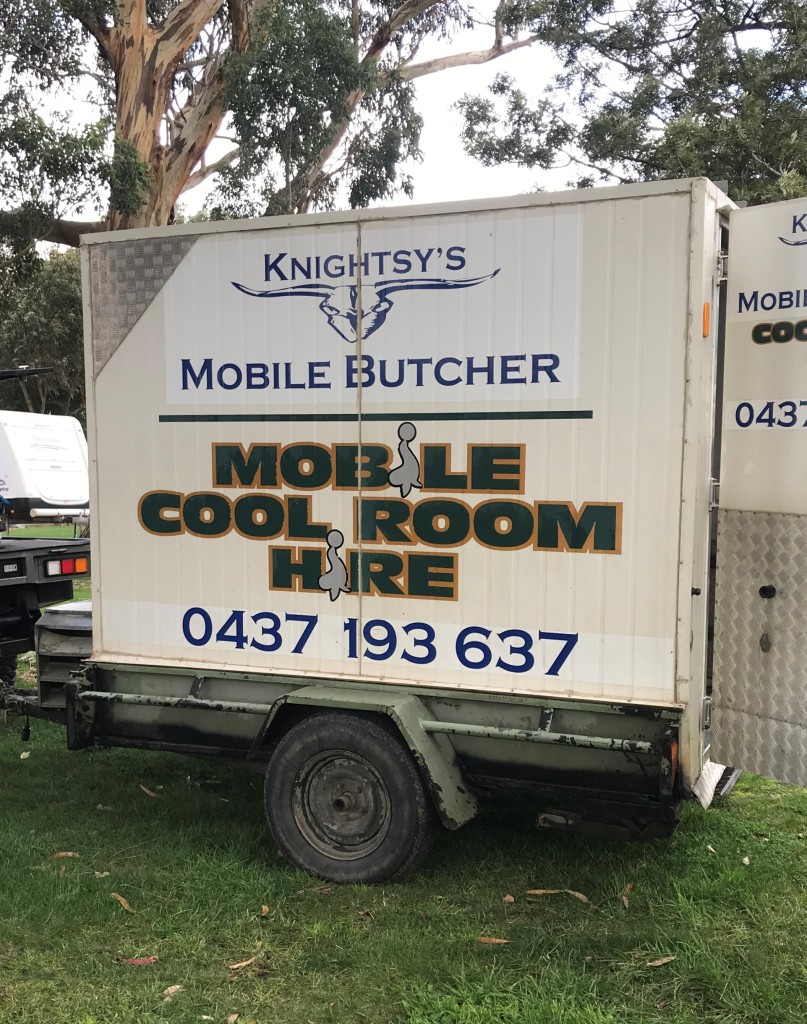
Immediately following death by gunshot to the head from a reasonable distance, processing begins in the paddock until the animal is reduced to a dressed carcass. This involves the removal of the head, feet, hide and internal organs but still includes bones and cartilage. The carcass is then quartered, weighed and hung in a mobile refrigerator which stays with you until the butcher returns to continue processing the carcass. We had a dressed weight of 310kg which hung for seven days. This first part of the process took a couple of hours.

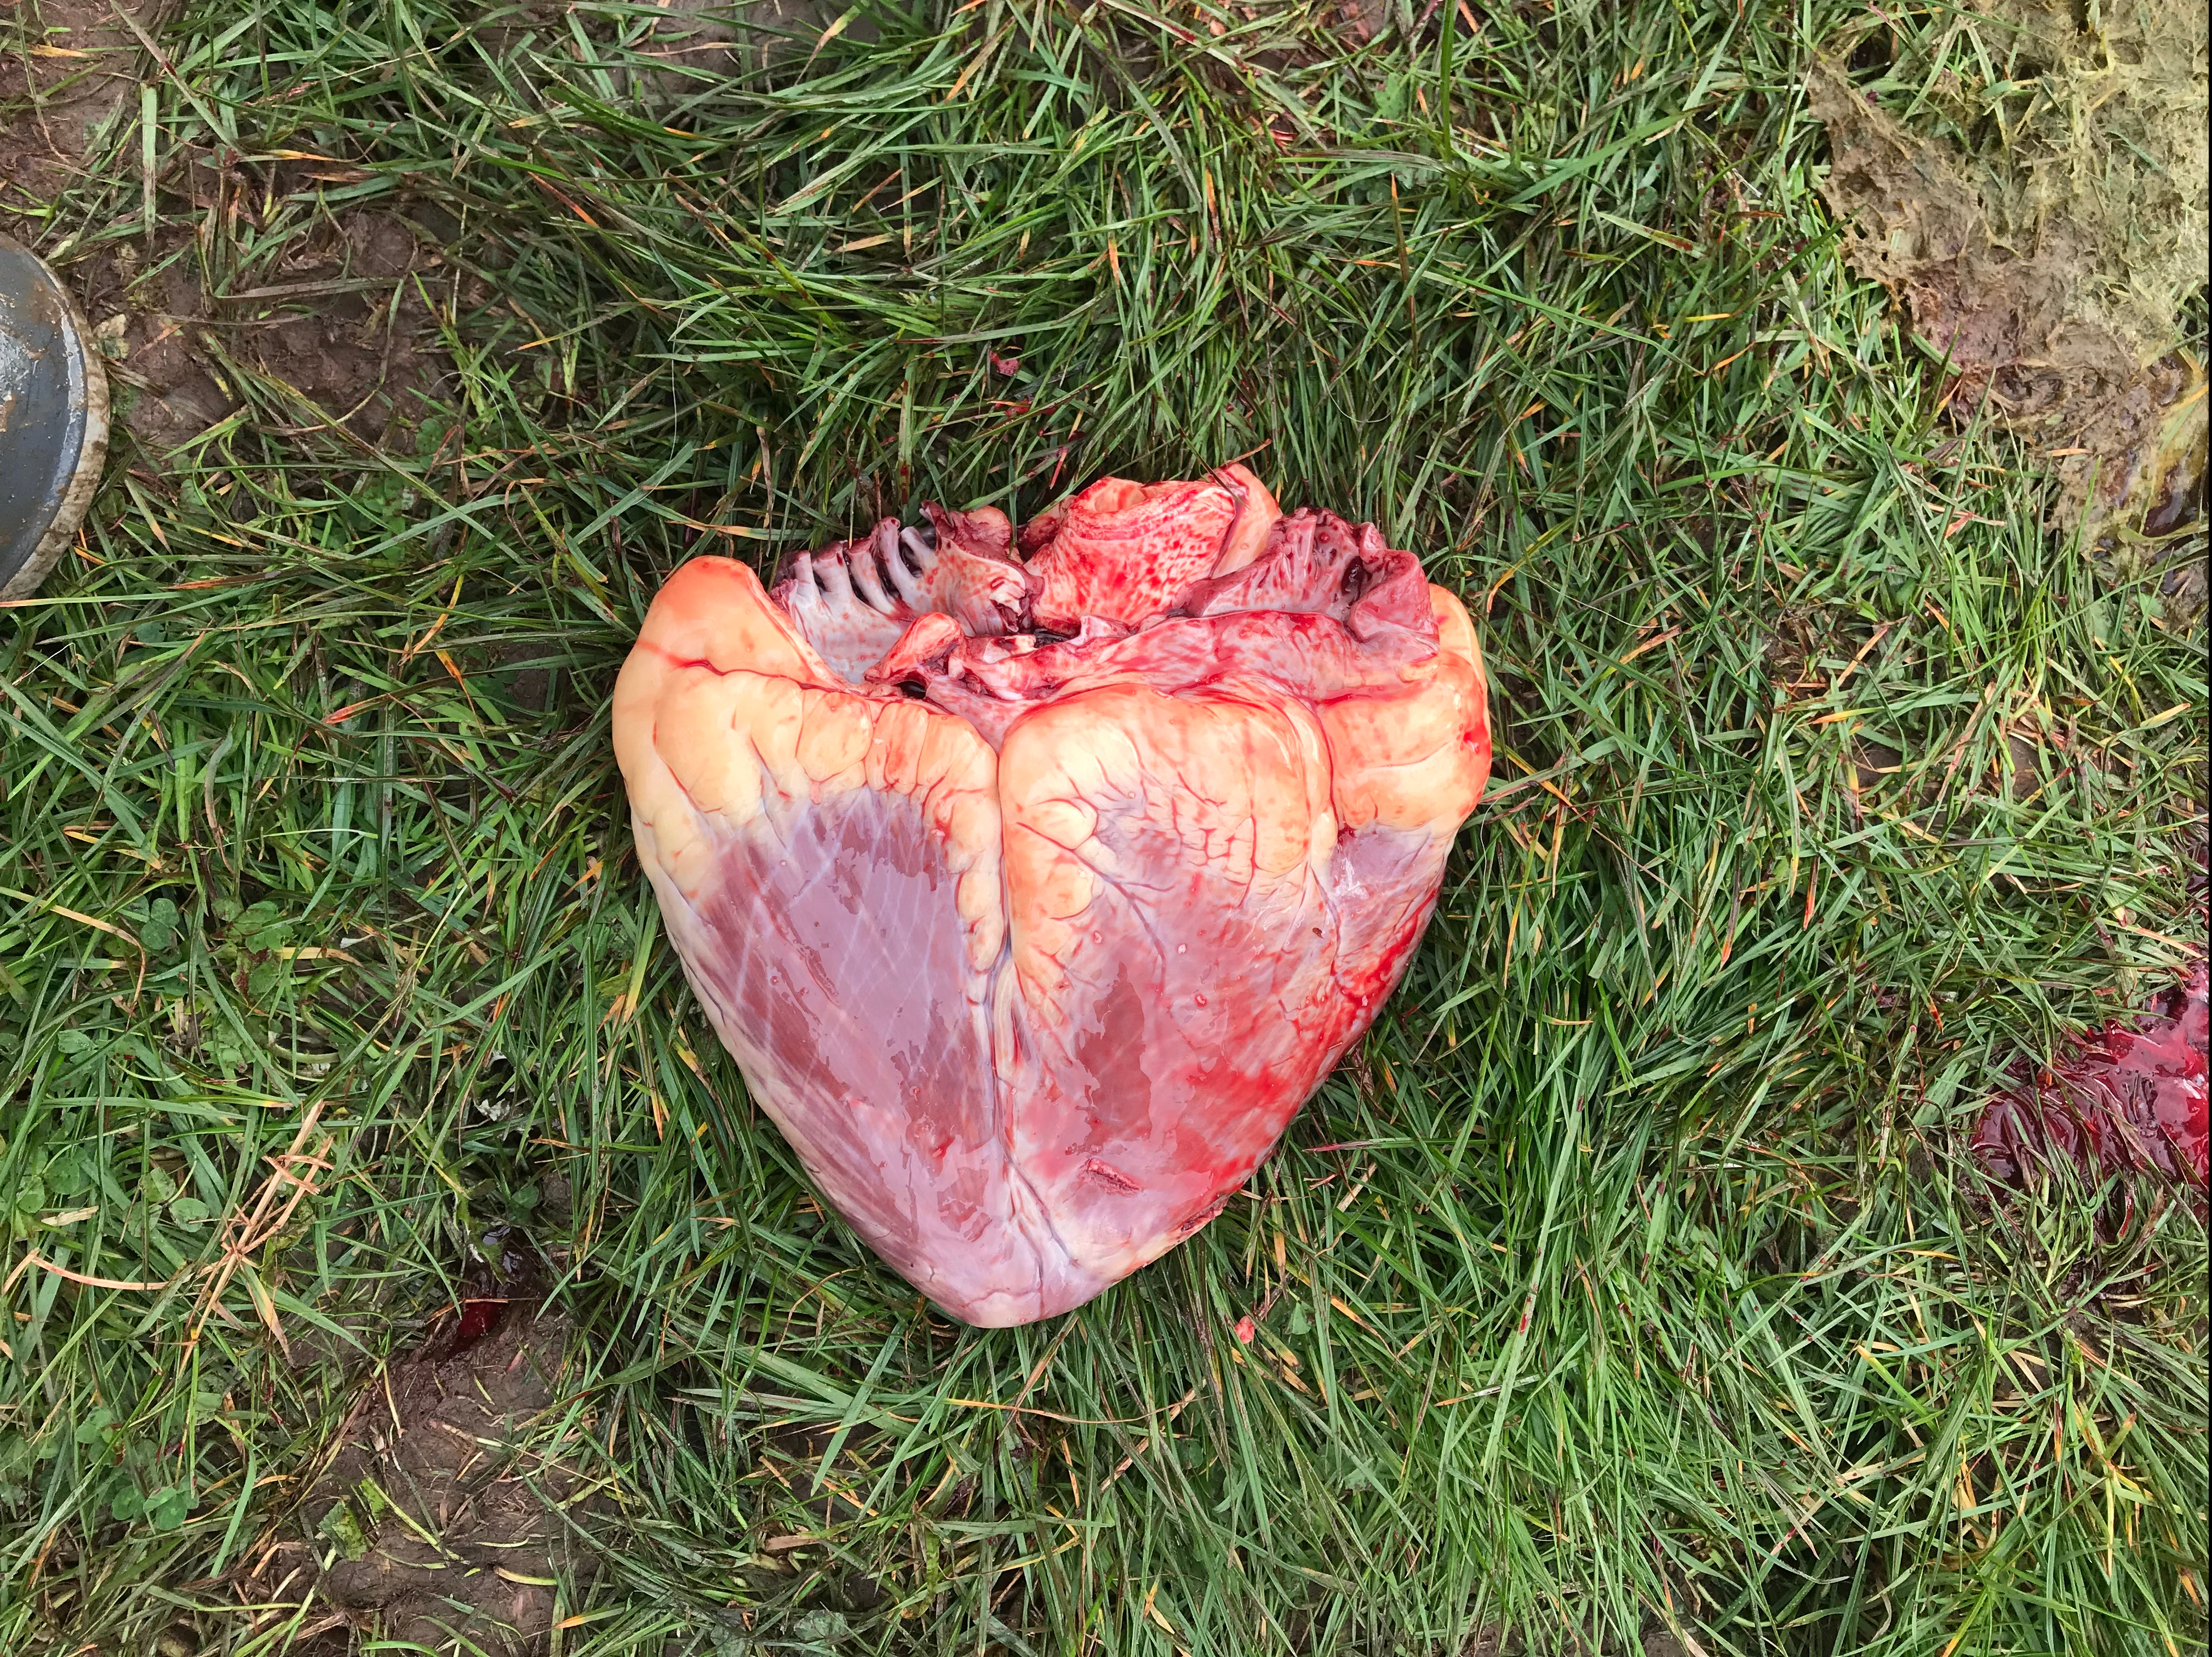
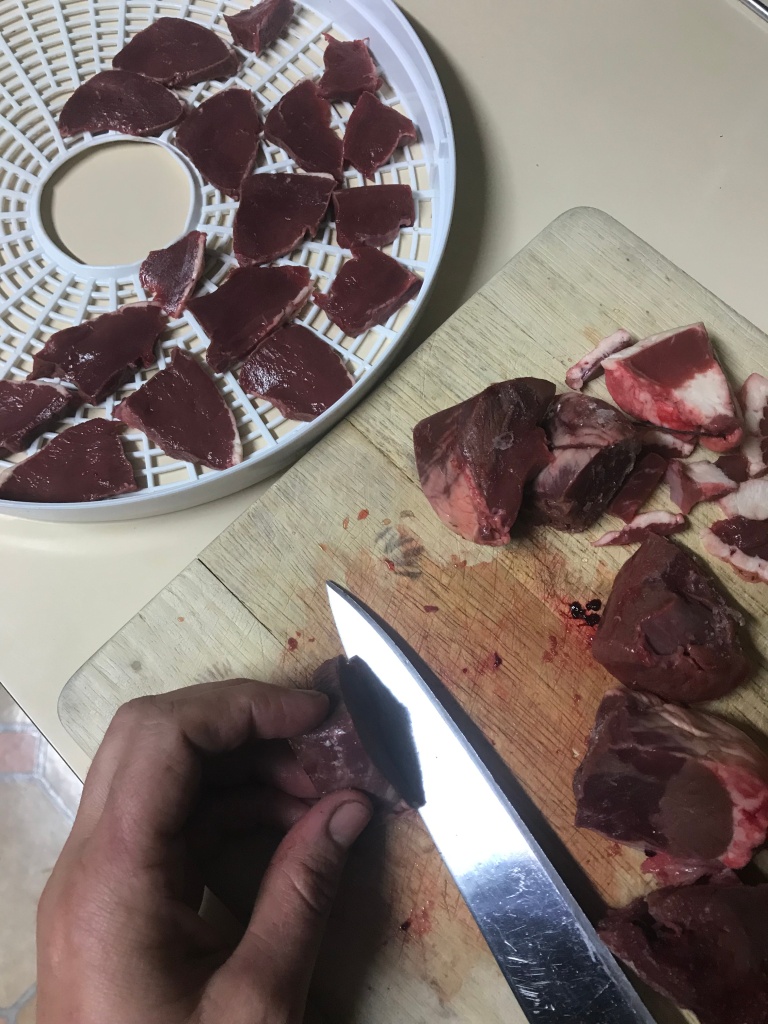
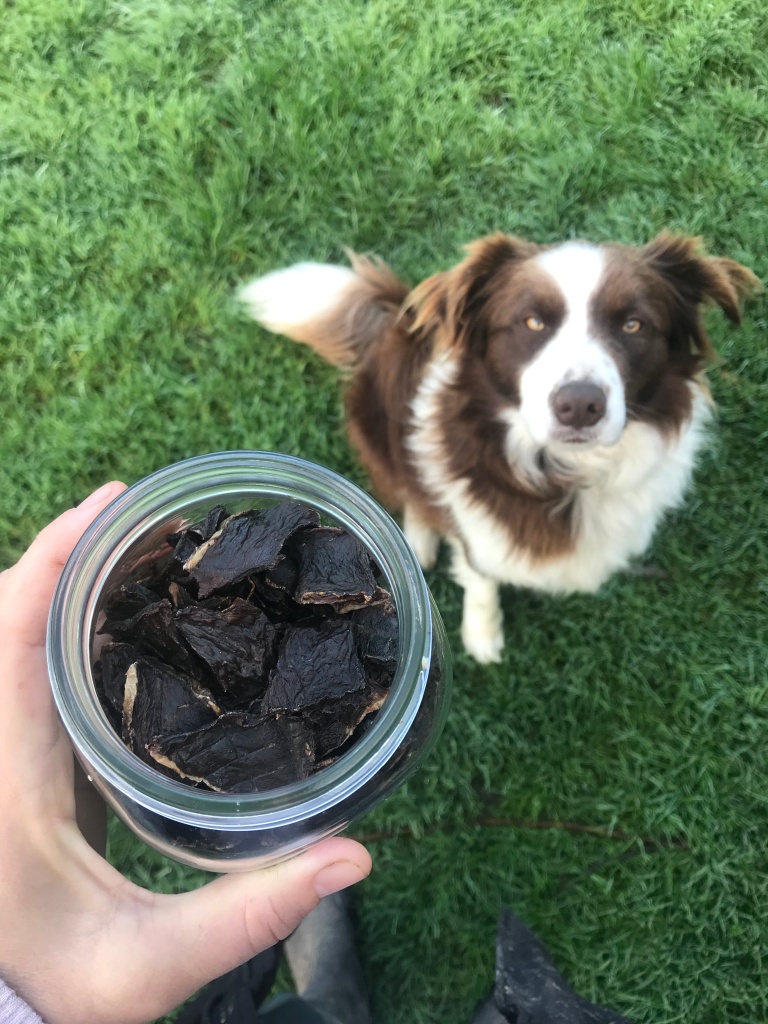
We were asked if we wanted any of the organs so we took the heart, tongue and cheeks for our dog and the rest was packed in bags to go to our friend who has many dogs. We didn’t take more for our own purposes because we were concerned about freezer storage capacity. I later realised I could manage this somewhat by cutting and drying the organs to make dried dog treats, which I’ve now done and stored in glass jars.
Given we wanted to make the most of the resources provided by Grace, my son and I discussed the possibility of tanning the hide with our butcher. He actually advised us against it as it is a big job and he doesn’t know many people who have done it successfully. We decided to take a small piece to learn with. It has been very difficult to find good, thorough information on the internet and from anyone in real life. This is still a work in progress.


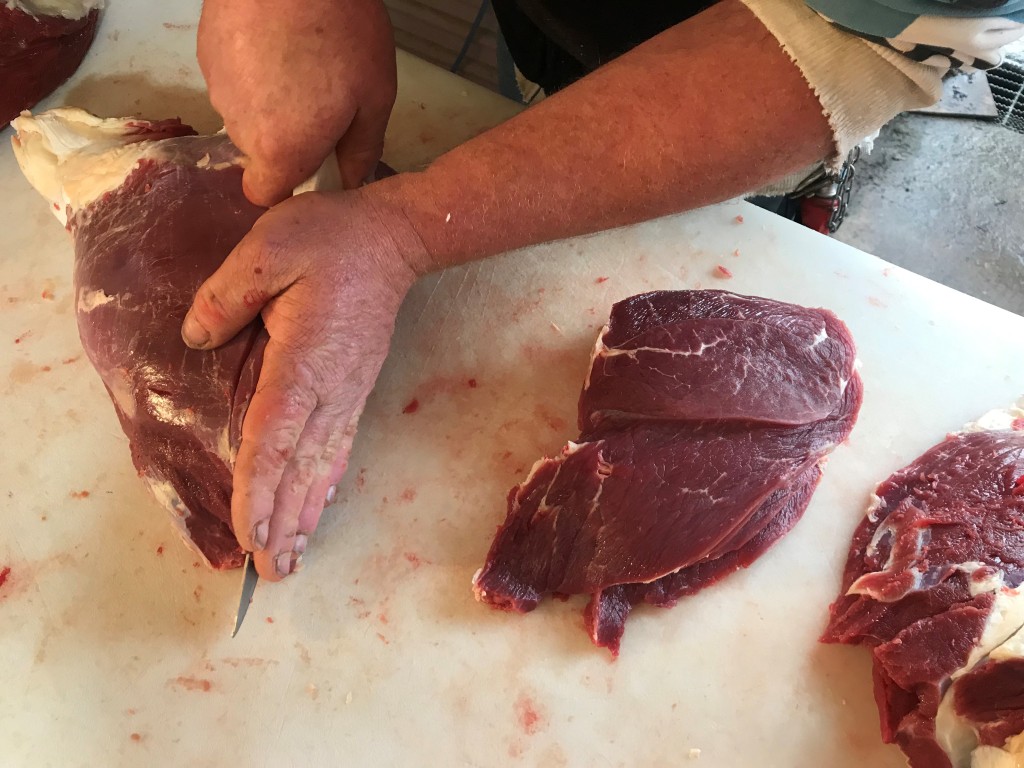
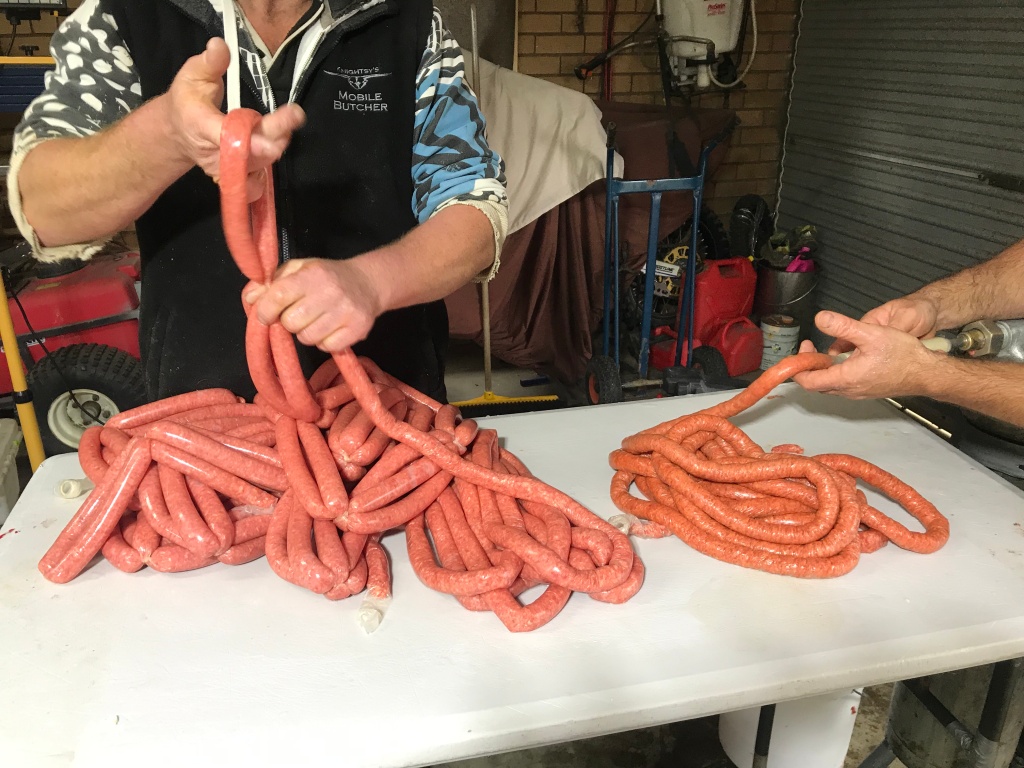
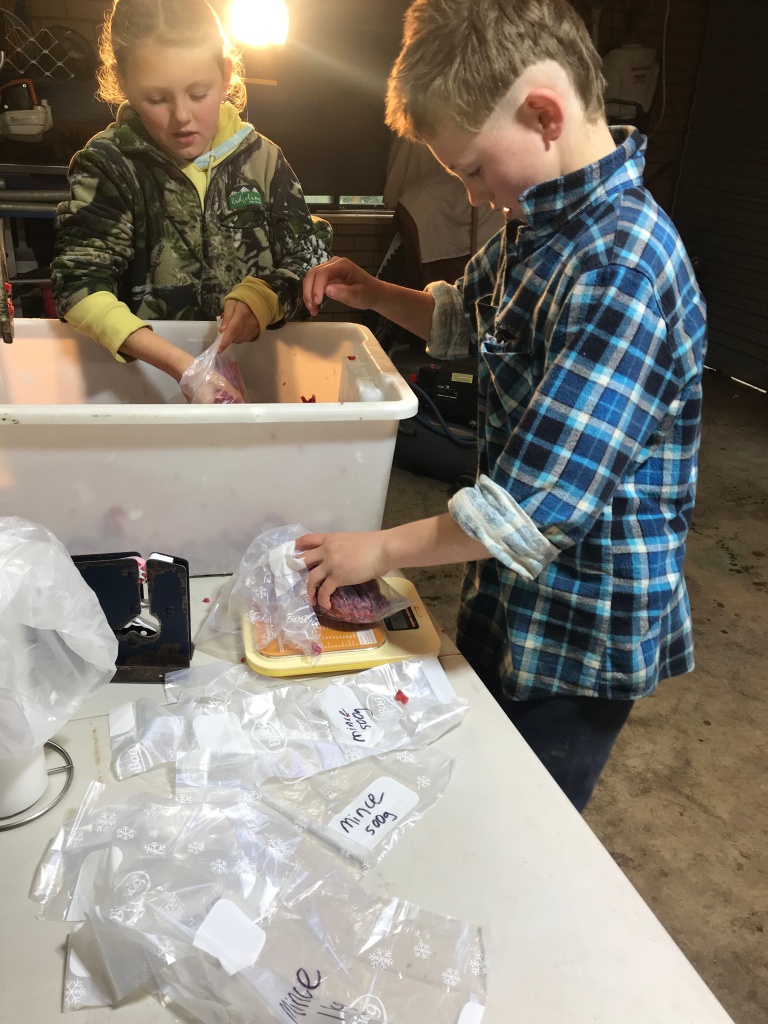
After seven days it was time for the two-person mobile butcher team to return and finish the cut up. It was our responsibility to pack and store the meat. The whole family got involved and we learnt about cuts we had never heard of before or tasted. The day started at 7.30am and we were cleaned up and done by midday. Our freezer is now full of plain sausages, chorizo sausages, mince, spare ribs, soup bones, stewing steak, brisket, osso bucco, gravy beef, BBQ steak, oyster blade, scotch, blade roast, topside roast, schnitzel, eye fillet, rump steak, porterhouse, girello, and silverside which will supply our family of four and any guests we have for over 12months. One of the great benefits of producing and packing your own meat is that you can portion it in ways that suit the way your family consumes meat, for example, 9 sausages instead of prepacked options of 8 or 12.


How do we pack and store the meat?
One question that I have been asked often over the years is if I know of a plastic free way to store bulk meat after the slaughter of an animal. I haven’t been able to provide a solution in the past but have been keenly watching this space until we finally seem to have an improvement. This time round we packed all our meat with 4 litre compostable freezer bags plus about five 6 litre bags made by Biobags. A carton of 18 boxes which contain 25 bags each costs about $100 but we used about half of this.
These bags are great because if you don’t want to use the plastic bag-tie, they feature a split at the top of the opening to make it easy to knot the bag. Just make sure there are no air gaps when you do it. They also have white colour blocks on the bags to write your labels on if you don’t use stickers.
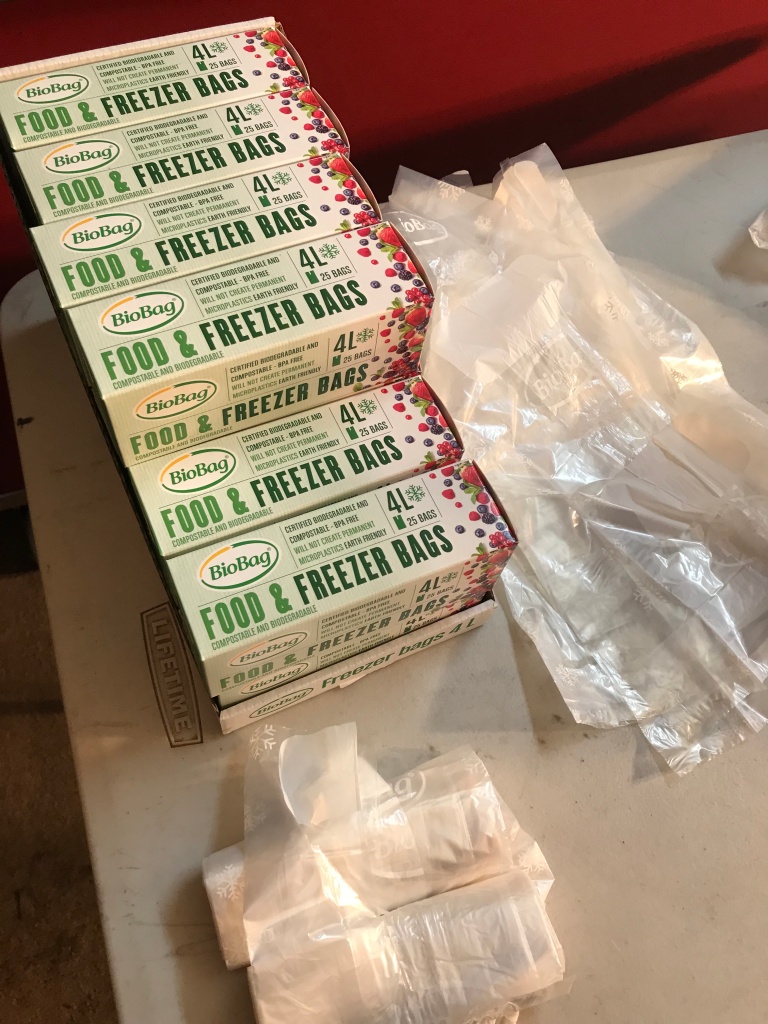
Previously, compostable bags have not been made in a way that makes them suitable for freezer use or suitable for meat. The bags were too breathable resulting in things like freezer burn, slimy meat when defrosting, and tearing easily when they get stuck together in the freezer. I imagine leaking blood could have been an issue too. I had the confidence to use these bags on a large scale because I tested them over several months with smaller amounts of meat and didn’t encounter any problems. On this packing day however, we did have a couple of bags tear slightly, but it was no big deal and might have happened with any other bag. Normally the mobile butcher will supply standard plastic bags as part of the service but he didn’t have an issue with us using our own bags. He is interested to know how they perform over time because he has other customers who he thinks will be interested in this option.


When you’re finished using a BioBag, you could reuse it to collect food scraps, then put it in your compost bin or council green bin. Please note that the freezer bags are certified compostable for industrial to AS4736 and they will also break down in a home compost bin but are not certified to AS5810. This means they will break down eventually at home without leaving any microplastics or toxic residues but not in the timeframe to meet the standard.
What next?
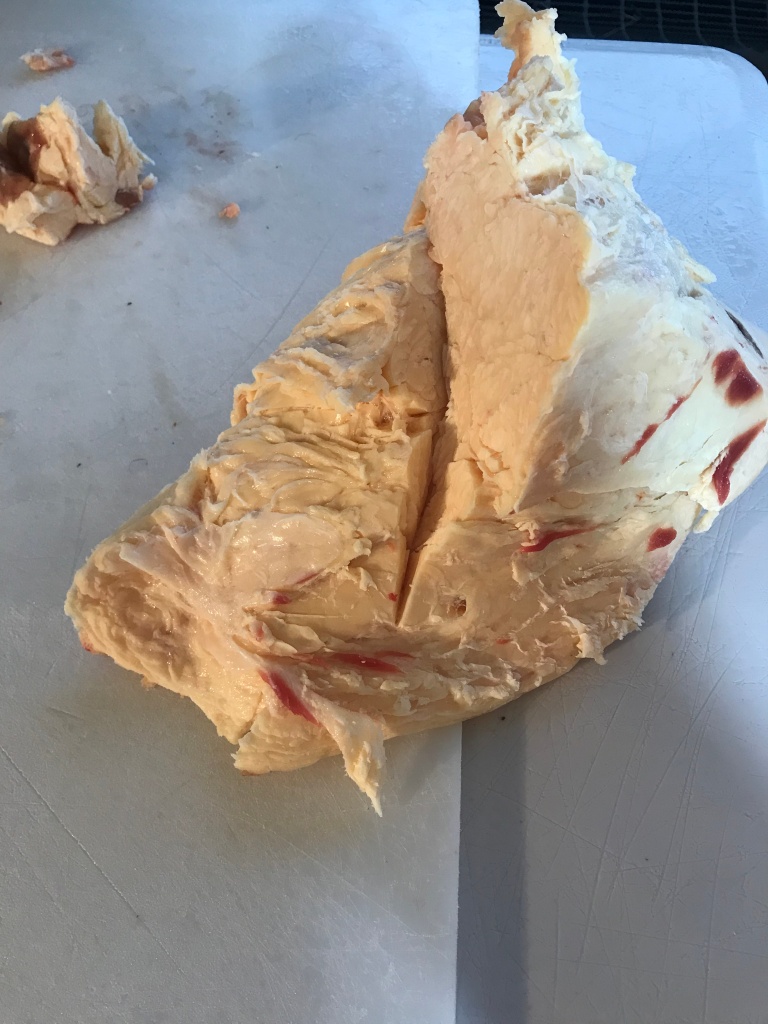
Some other things I have done to make the most of what we have been provided is collect the suet and fat (currently in the freezer) which will allow me to have a go at soap making from tallow, and our butcher tells me I can use it in traditional Christmas pudding recipes. One thing is for certain, I am learning a lot.
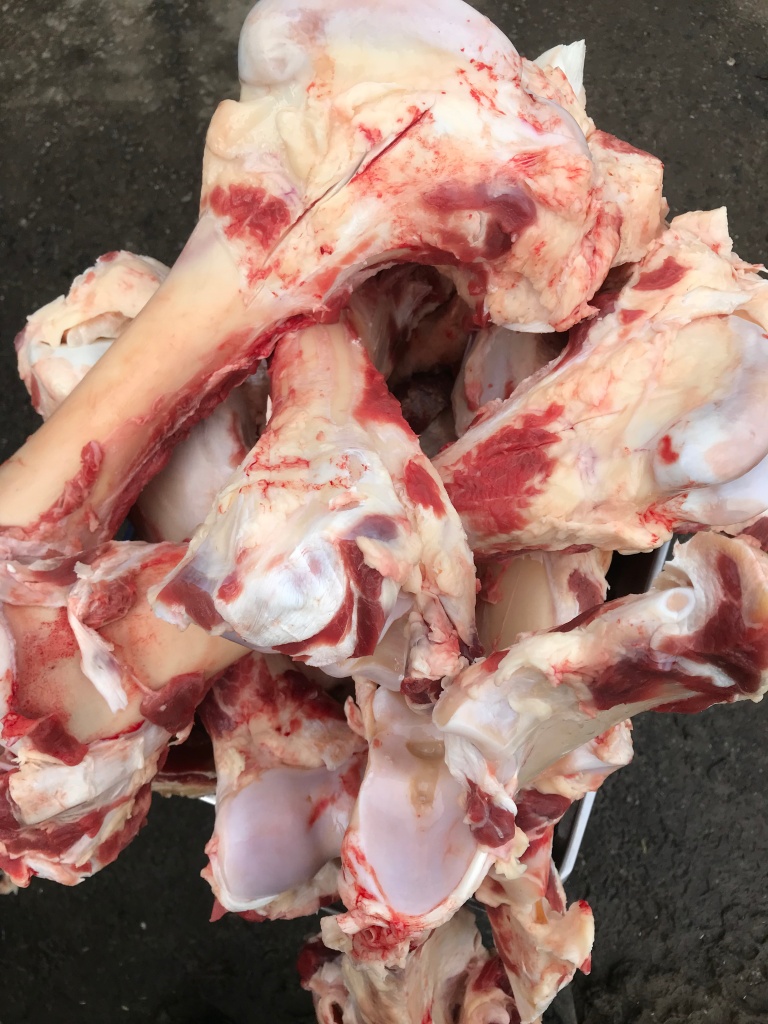
Also, I saved as many bones as I could for the dog (they’re in the freezer) and have used as many as I could fit into pots to make bone broth. After cooking the broth for 24 hours I borrowed my sisters pressure canner (it was my first time using a pressure canner) and canned the liquid so it is shelf stable for many months. I have found it very frustrating to defrost stock before using it, so I think this option will work really well for me.

I could delve deeper into many aspects of this blog post but I really just wanted to provide an overview of home butchery and let you know that it is something we have moved towards over the years, and of course, share how we are packing and storing our meat given I’ve had questions about this specific situation since I started blogging. I am more than happy to answer any questions you have or discuss aspects further, just leave me a comment and I’ll get back to you.
Finally, a big shout out to Brad and Shannon for a job well done, answering all our questions, letting me take videos and photos, and letting us try the bags.
Please be aware that this post contains affiliate links. For the full disclosure statement visit here.


Great article. I truly hope you inspire people to make changes! Were very Lucky that friend’s of ours are hunters and are able to supply us with venison.
I’m curious as to where you bought the freezer bags?
Also I never realised that bone broth can be canned! I allocate a shelf in my freezer, but it takes up a lot of room…. I might have to look into that.
Thanks again for a great post.
LikeLiked by 1 person
Thanks Petra. The blue text in the post are links to websites were you can buy the bags from. I got mine direct from BioBags online, which is one of the links I’ve included. Friends of ours are hunters too so we get some venison occasionally as well. I think I will blog about this one day.
Yes, bone broth can be canned but only with a pressure canner. I’m not able to do it with any of my Fowlers Vacola equipment. I’m so glad my sister had one I could borrow. It was a little bit intimidating using it but I got there without any drama. 🙂
LikeLike
Brilliant work, there is no better feeling than providing for yourself and your family off the land. We grow a process our own sheep and are keen to do beef and pork, so this article has been insightful. What I would like to ask though what is your final costing per kilo allowing for purchase of animal, butchering and storage.
LikeLiked by 1 person
It’s a good question that I’d like to pay closer attention to to get the most accurate answer, but here’s what I know:
– butchering costs $700
– compostable Bags $50
– animal purchased for $100
– we had no land costs
– healthcare over 2 years for the animal would be about $50/month so $1200 in total (vaccinations etc)
– there were some extra feed costs at some stage too.
– running a freezer for 12months; I think a reasonable estimate is $10/month so $120.
Let’s say total cost was $2500 for a dressed carcass of 310kg that is $8 per kg of meat.
If we estimate a loss of $100kg once bones and unusable parts are removed from the equation. Cost comes to $11.90 per kilogram of meat.
I’m pretty happy with that as I remember our local butcher shop sells mince for about $15 per kilo. Obviously doesn’t compare to supermarket meat for $6 a kilo but that stuff tastes terrible once you’ve eaten good meat.
LikeLike
I agree!..nothing better than your home grown meat..you dont know what has been fed those store bought ones.worth the effort if you’ve got land.
LikeLiked by 1 person
Great post – I had no idea you could get a full service mobile butcher service like that from kill right through to dressed/processed products like sausages and silverside! I want to eventually run my own animals when I no longer have to work and live in the city, but was worried that would mean having to do all of the prep work myself, which seemed like an overwhelming amount of knowledge and skill I’d need to master. This option sounds like a fantastic way to obtain ethically sourced meat – thanks for sharing!
LikeLiked by 1 person
No problem Ash. Yes, this is a great way to start and as you build up your knowledge over time you can try doing some of it yourself or try making different things like salami.
LikeLike
Well done and thank you for sharing. I am not in a position to do this, but have been curious about it for a while now.
I started to make my own soaps and shampoo bars early this year and i am loving it, only problem is that i am making more than i can use, its pretty addictive. lol. There is an Aussie facebook soaping page which is great and they have files of information and can answer any question you might be stuck on, Definitely worth checking out.
LikeLiked by 1 person
Oh thank you so much for the tip. I have never made soap before and I’m launching straight into doing it by rendering my own tallow first! Hahaha. I’ll definitely be looking them up.
LikeLike
I like what you are doing here – all meat should be killed and butchered this way. I am in Southern NSW so not so relevant to me, however. I am also looking for kill by knife. Great to have access to this info, though. Thanks!
LikeLiked by 1 person
Thanks Natasha. I wasn’t sure how people would react to this post so it’s good to know your thoughts. I haven’t come across kill by knife. I might ask my butcher next time I see him. 🙂
LikeLike
Hi Tammy, thanks for your blog! I have been loving them all. Out of curiosity, how much freezer space did you need for everything?
LikeLiked by 1 person
Oh sorry, I forgot to include that so thanks for asking. We’ve used about 320 litres of freezer space but it does include bones and organs for the dog and a bit of fat.
Glad to hear you’ve been enjoying the posts. 😃
LikeLike
Great post Tammy!
Once you bag the meat, do you have a system for sorting it in the freezer which you find works well? I’ve tried a few different systems over the years but always good to hear how others do it. Cheers & thanks for sharing!
LikeLiked by 1 person
Thanks Kim. Not really. As it’s cut, we bag and put straight into freezer, then the next day we pull it out and turn it to ensure everything is frozen well. When I did that I recorded how much of everything we had, that list is now on the fridge and I cross off things as I use them. 🙂
LikeLike
It is a confronting process but so many of us eat meat without giving a second thought to the path it takes to reach our plate. Cutting off the head must be the worst part I think. It sounds like you learnt a lot through this experience and I did as well, reading your post. Rural folk it must be pretty much a regular occurence. But so much fat! Bottling the stock is a great idea.
LikeLiked by 1 person
Yes it is confronting (and quite a regular occurrence in rural areas) and every time I eat the meat or use some other part of the animal I find myself reflecting on the process and the ethics of animal products as well as any new information or points of view that I’ve come across since. I thought the death was going to be the worst but it’s instant, although sad. I probably found the first cut, which is to bleed out the animal, the hardest to take, along with removing the head.
The butchers said she had lots of good fat on her, the right amount. 🤷🏻♀️ I still haven’t done anything with the fat yet. But having the stock has been great.
LikeLiked by 1 person
yummy!..look at all that meat! would be interesting to know what you did with the rest of the hide….perks of living in the country side.love it!…how long did you keep the heifer for before slaughtering it? did you you buy a calf or you have more in your farm?…i have lots of questions :)…well done!!
LikeLiked by 1 person
Thanks forr this
LikeLiked by 1 person
Hi Tammy,
I note your quest for hide tanning information. Tanning is often overlooked in home butchery. Leidrietter’s tanning kits were very popular but apparently no longer available. Here’s another pundit’s thoughts on an alternative https://archeryessentials.com.au/TanningYourTrophySkins.htm .
Regarding the mention of a need for instructions. Here’s a YouTube link to the original video https://youtu.be/qm6Ac3o3vQI – I had a VHS copy of this back in the day!
John Leidreiter’s instructions on tanning cattle skins, Leidreiter’s tanning formula: tanning cattle and similar hides, reference pamphlet https://catalogue.nla.gov.au/Record/570539
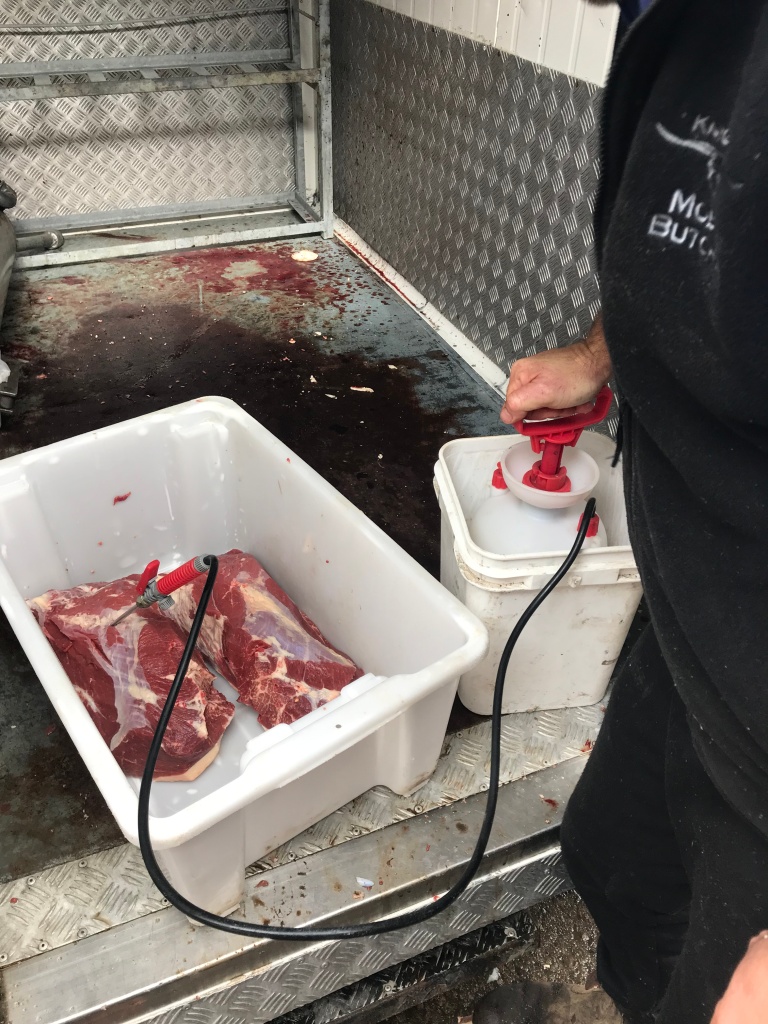
I note the corning photos. Do you ‘brine and smoke’ any pastrami brisket? I ask this because of the comments from Petra about venison and from Rowan about pork. Venison pastrami is great, and I highly recommend ‘pineapple juice pickled pork shoulder’ too.
For a link to pastrami try
https://www.greatbritishchefs.com/how-to-cook/how-to-make-pastrami
Some comments mention bagging systems. Consider vacuum sealing (in either bags or containers) for cuts of meat to be stored for a long time. Use the Biobags for the first cuts that you are going to eat, and then move onto the cryovac’d. This link claims some extraordinarily extended freezer times for vacuum packed meat up to 2 years or more https://www.vacpac.com.au/vacuum-sealed-life-expectancy-how-long-will-my-vacuum-sealed-products-last/
Cheers!
Steve
LikeLiked by 1 person
This is awesome Steve. Thanks heaps for the info. I need to set aside some time to have a proper look at it all but really appreciate the suggestions and advice. 😃
LikeLike