Like my worm farm, this was an opportunistic project that came about because my husband found a wooden box he thought could be useful. He sent me a photo asking if I wanted it because it was going to be burnt otherwise. I immediately thought it would be good to use as a garden bed somewhere, so he brought it home.
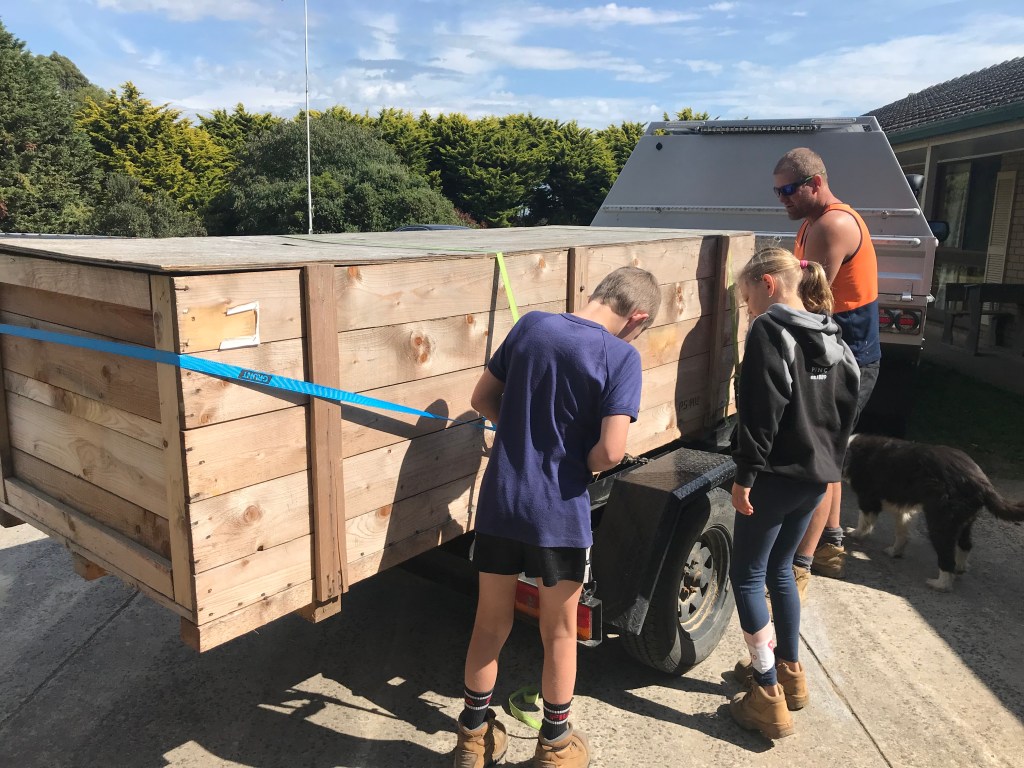
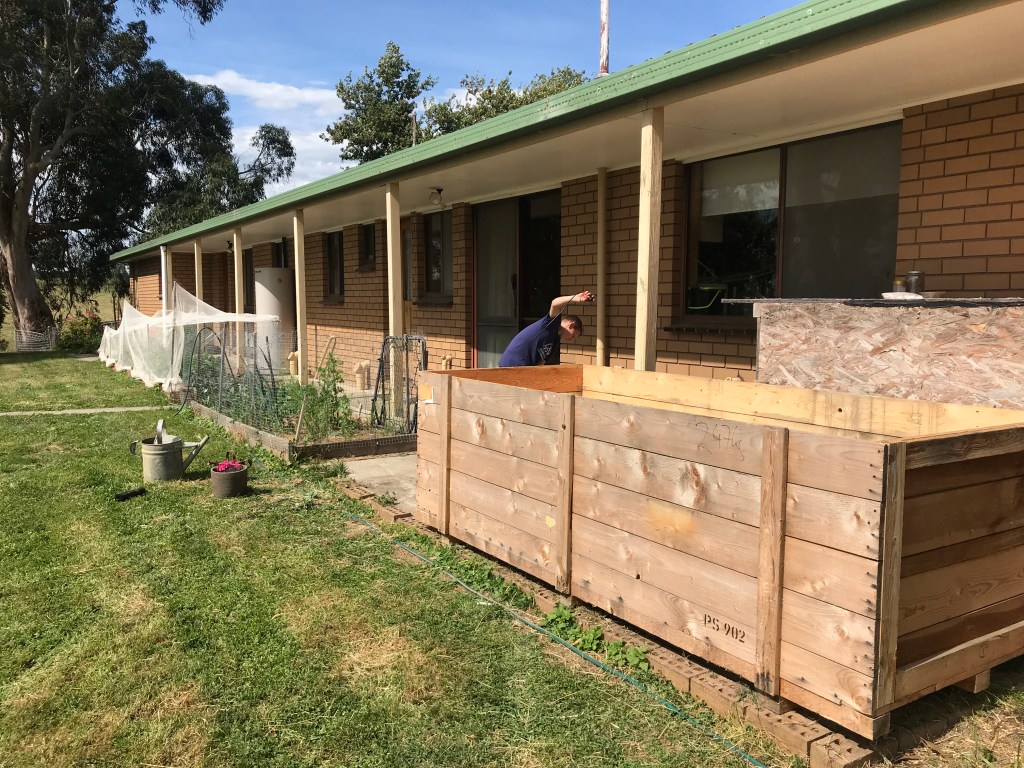
With more thought, I decided to pop the box on the North side of the house with the other vegetable garden beds, but on a concrete section that is in line with the others. Apart from the aesthetics of keeping everything in line, the concrete surface has the benefit of already being level (saving me from doing that step). This end of the garden is the hottest and driest so I decided to make the box into a wicking bed to conserve water, improve productivity and support plants while we are away on short Summer trips.
Wicking beds water plants from below rather than above. They’re basically containers with water reservoirs at the base. Moisture is drawn up through the soil via a process called capillary action or wicking. There are lots of videos and how-to’s online if you need to find more detail on how to build one for your situation but I always like to check out the Gardening Australia Factsheets for hints and tips. Here’s one that Sophie did but there are others so take a look around on that website.

We started this project right when social distancing restrictions were ramping up and there was a lot of panic buying, closures of community facilities and uncertainty about what was to come. So, as much as I would have liked to have sourced everything for the wicking bed secondhand (like we did when we built one for our local kindergarten), it seemed too difficult at the time, risky and not likely to happen quick enough to help us grow more food and increase our food security. Nevertheless we already had some rescued bits and pieces saved up that we could use.
The first thing we did was make the tub water proof so that it can hold the water reservoir at the bottom. I had thought about getting some used plastic from a nearby farmer to line the tub, but actually I think it’s best to buy new plastic for a project like this. That way you can be sure there are no holes and don’t have a weakened liner. Also, if you can go all the way to the top of the box, that is preferred, and make sure your corners are tucked in a way that doesn’t allow the water to leak out. If you saw my social stories you know I learnt the hard way.
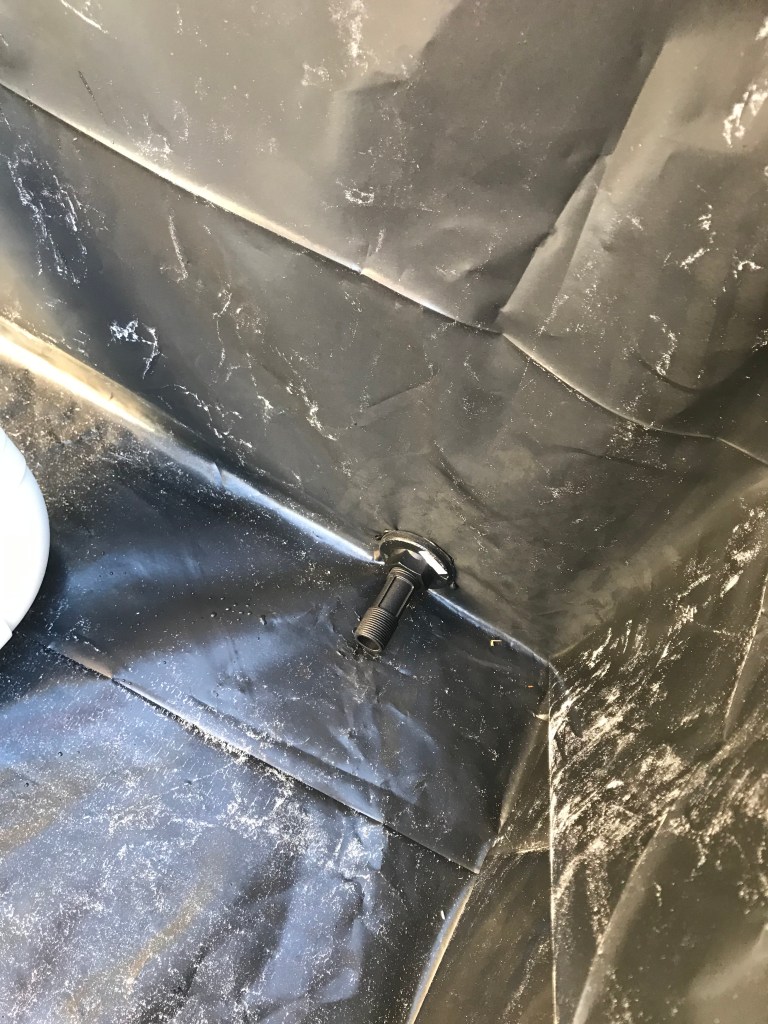
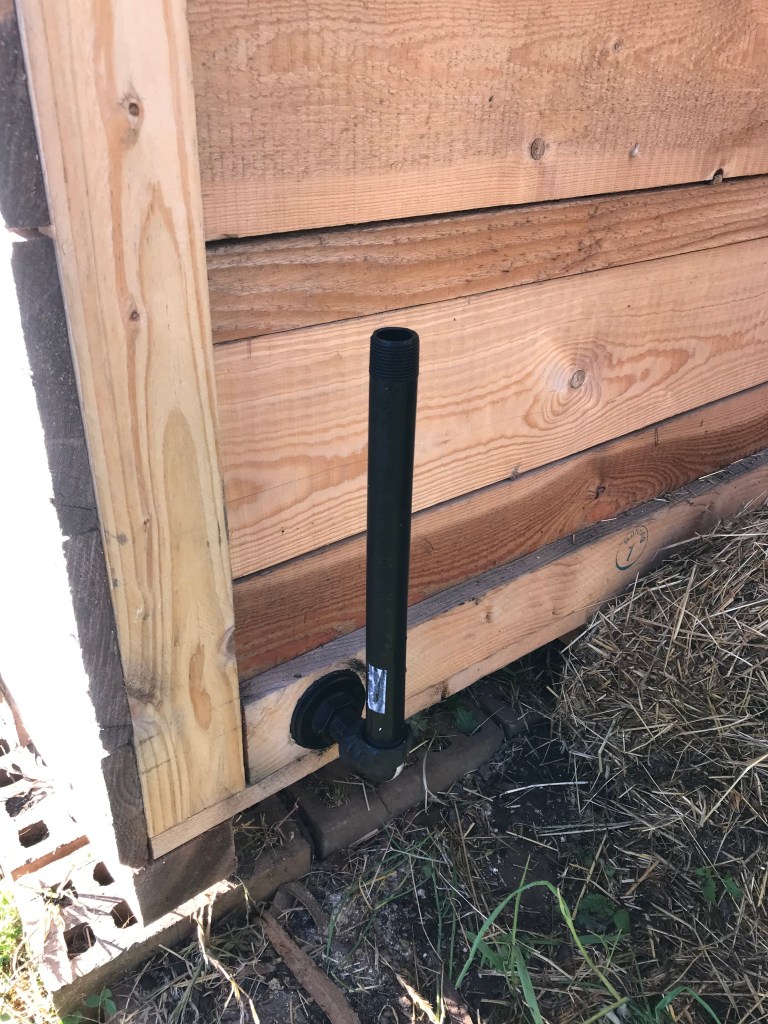
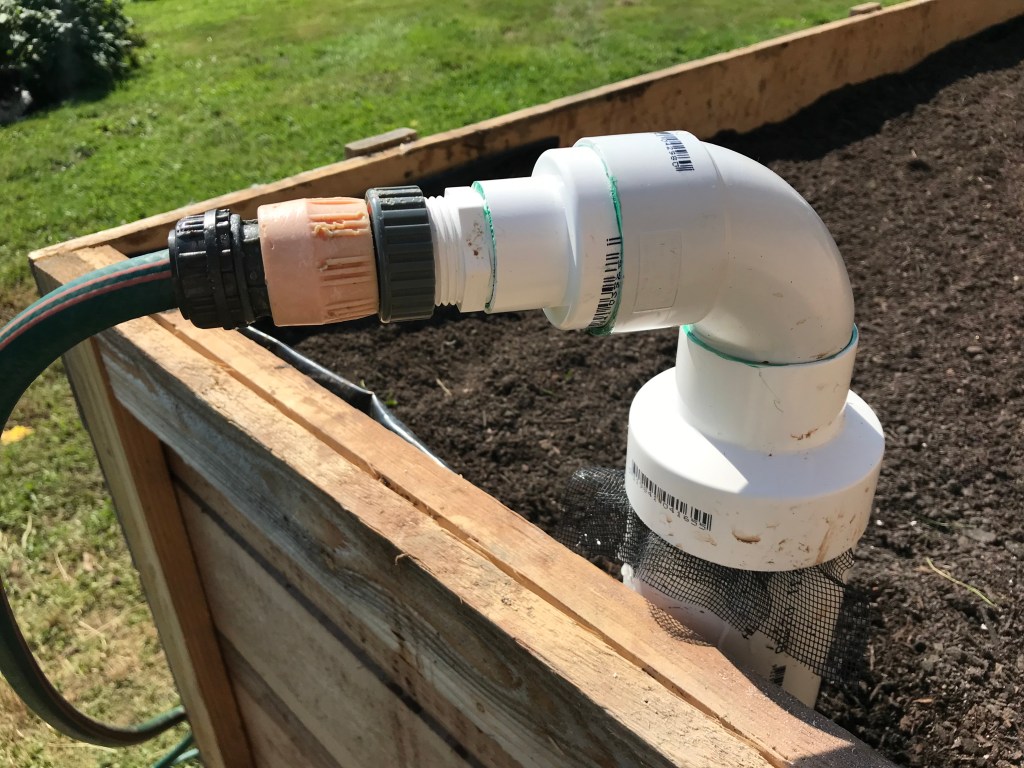
Next we made our overflow outlet. Many wicking bed tutorials will tell you to put your overflow outlet at the top of the scoria so that your soil doesn’t become water logged. But this doesn’t allow you to drain the whole tub if you need to. You might need to drain the entire tub of water if you are moving the wicking bed or if you need to completely refresh the water. So we put our overflow outlet at the bottom but attached an elbow on the outside with an extension piece that is as high as the top of the scoria. This means excess water will still flow out of the wicking bed when it reaches the top of the scoria in times of high rainfall, but we also have the ability to turn the arm and drain water down to any level. These overflow parts were some of the saved bits and pieces my husband had stashed in the garage.

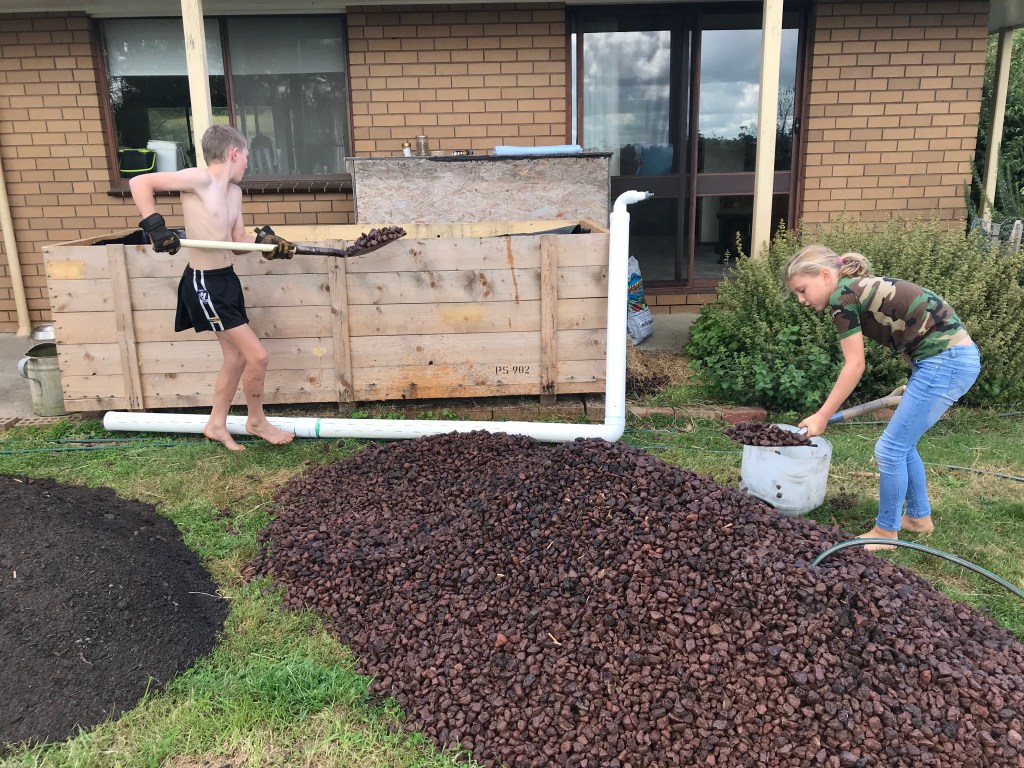
The next stage involved laying the water inlet pipe in the scoria. The scoria is porous and allows a lot of water to be stored in the base of the wicking bed but also has the strength to hold the soil up out of the water reservoir. One important thing to do when you are using a plastic liner is to protect the bottom (and probably the sides) from being pierced by the weight of the scoria which would allow water to escape. Old carpet is a good option for this but we didn’t have any so I decided to use old clothing and sheets from my scrap fabric stash, layered on top of each other. I think I’ve used enough. No problems so far.
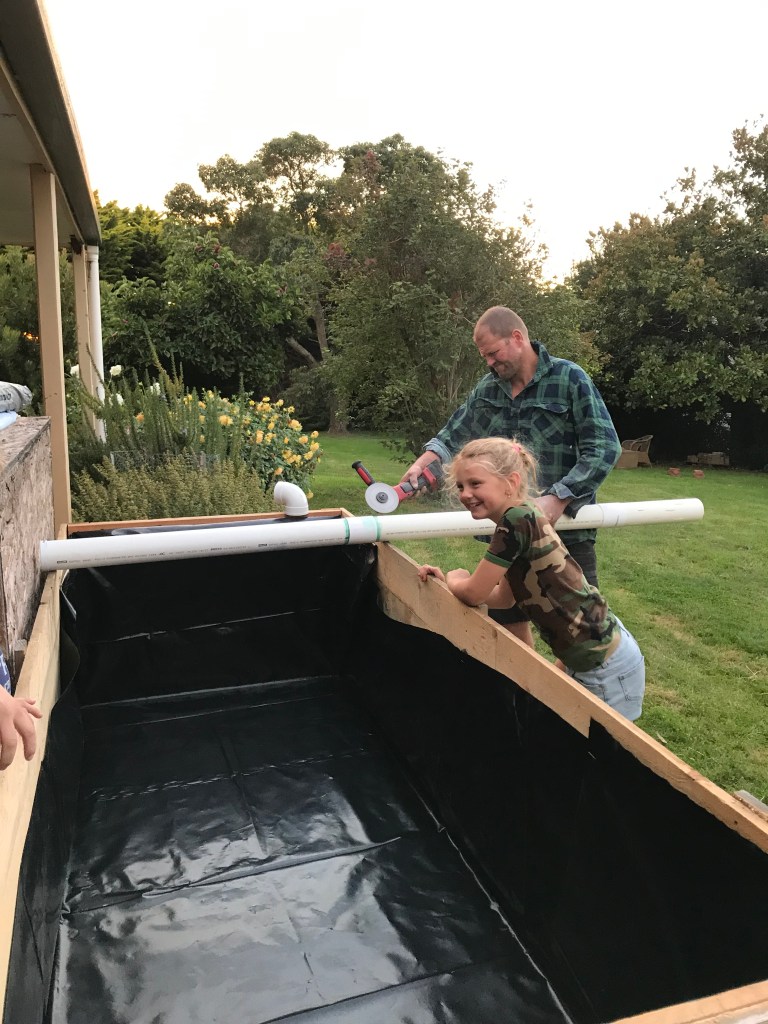
The inlet pipe sits on the bottom of the tub with an elbow and another length that comes up above the top of the soil in the wicking bed. This is how you fill the wicking bed with water. My husband used an angle grinder to put holes along the bottom of the pipe for the water to seep out.

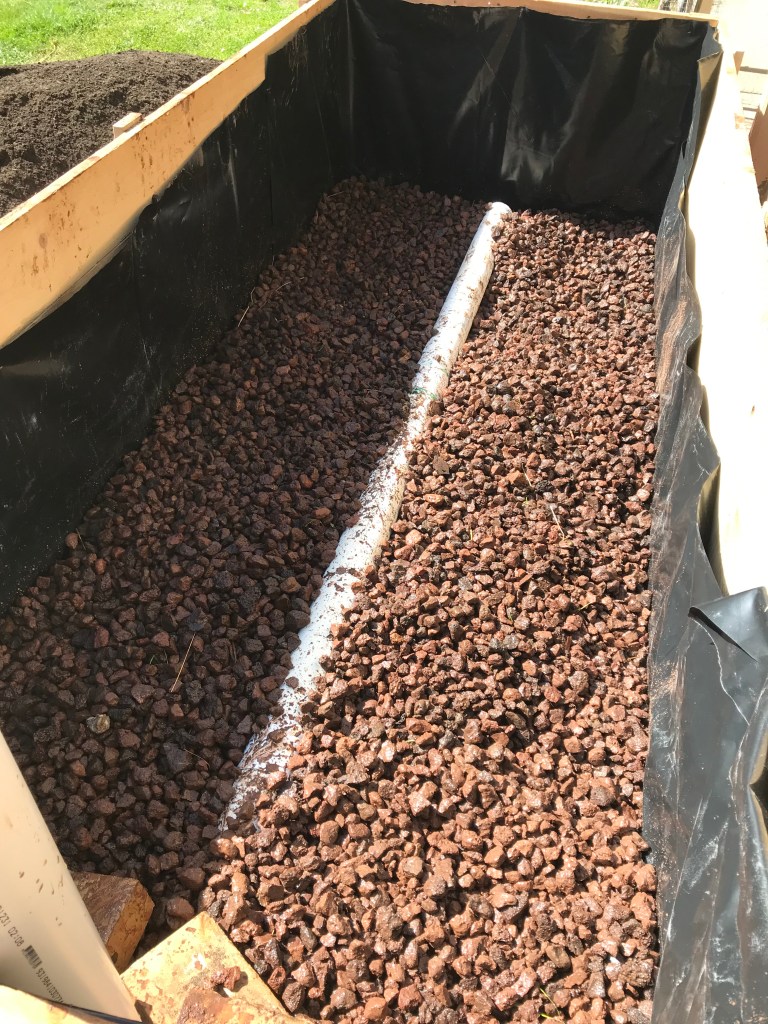
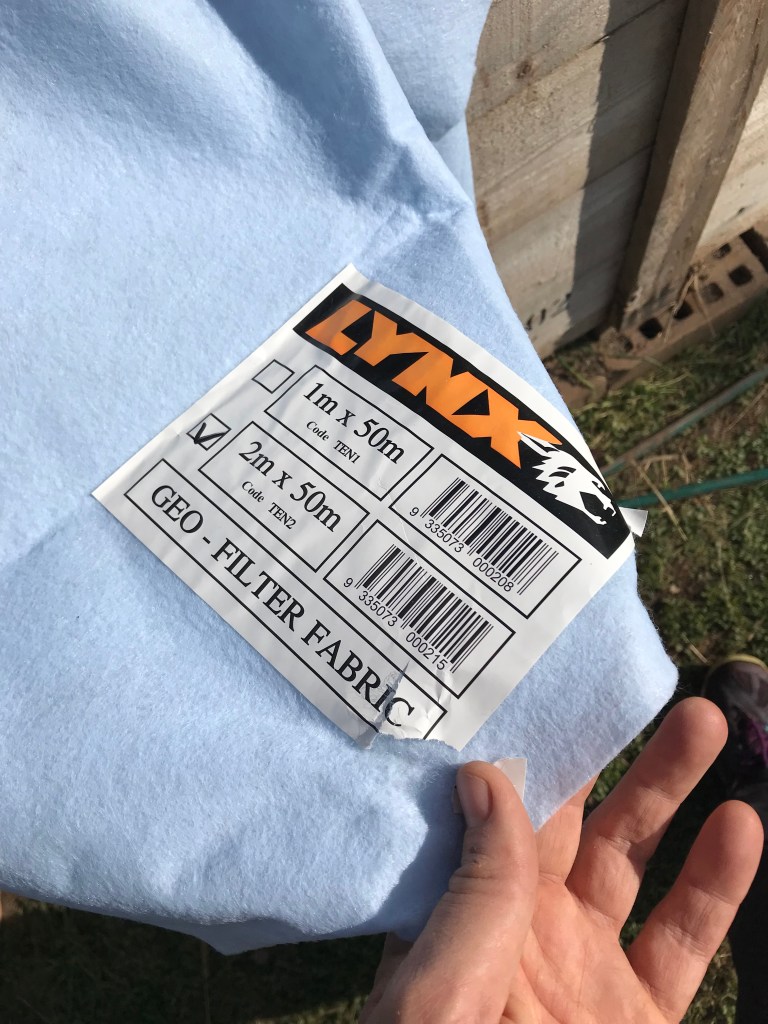
The size of our box required us to have a depth of 30cm of scoria because wicking beds work best when the soil depth is 30cm (total depth of wicking bed is 60cm). When we reached this height we added a layer of Geotech fabric which allows water to pass through but not the soil. At this point we tested the wicking bed by filling it with water to see if the overflow outlet worked correctly and to check for leaks. This is when I discovered a leak and worked out that my black plastic was folded incorrectly. I had to drain the wicking bed and dig the scoria back to be able to fix it. I was so glad I hadn’t added the soil! Once it was fixed we added the soil to a depth of 30cm. We had exactly the right amount of materials because I took my measurements to the garden centre and worked out how much of each product to have delivered. It was able to be delivered in one load because they added a splitter to the tip truck.

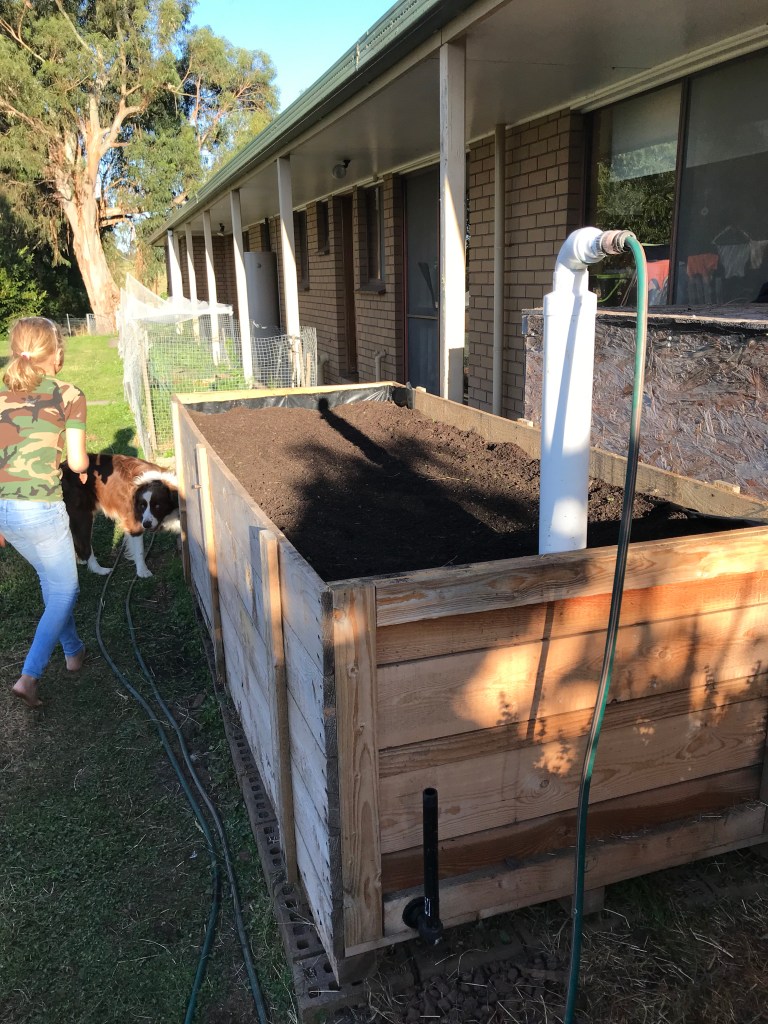
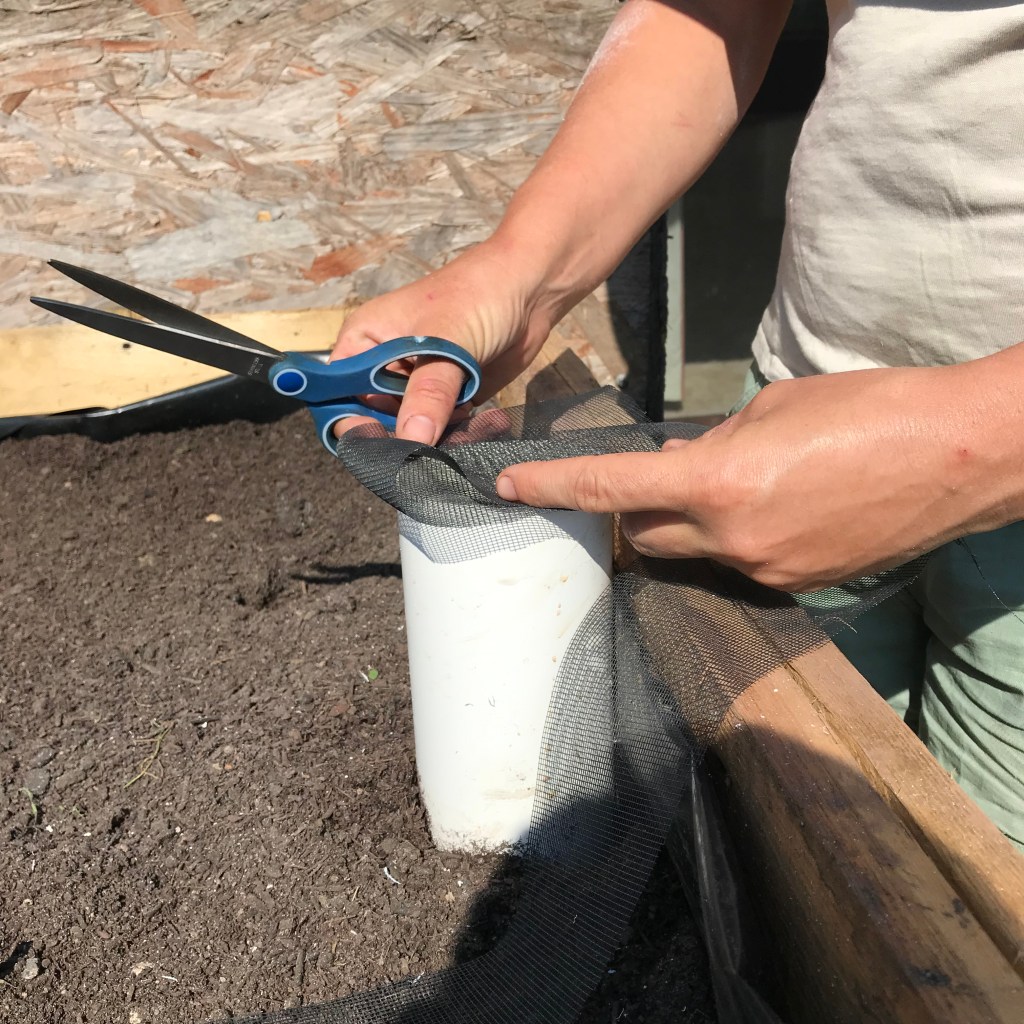
You can see from the photo above that we were a bit excessive with the height of the inlet pipe so we shortened it. Some things to consider with the top of this inlet pipe is that you don’t want it so short that soil and other material keep falling into it as this will block your pipes. You also don’t want frogs or mosquitoes to make homes in there so having some sort of cover is essential. My husband had the great idea of adding a hose connection to the top of ours, something I haven’t seen in any other wicking beds. It’s just really handy to be able to plug the hose on and walk away while it fills. I also added flywire over the pipe to deter small critters like mosquitoes from getting in the small hole in the hose fitting and breeding in the water reservoir. Believe me, having a mosquito problem near the house is not fun.
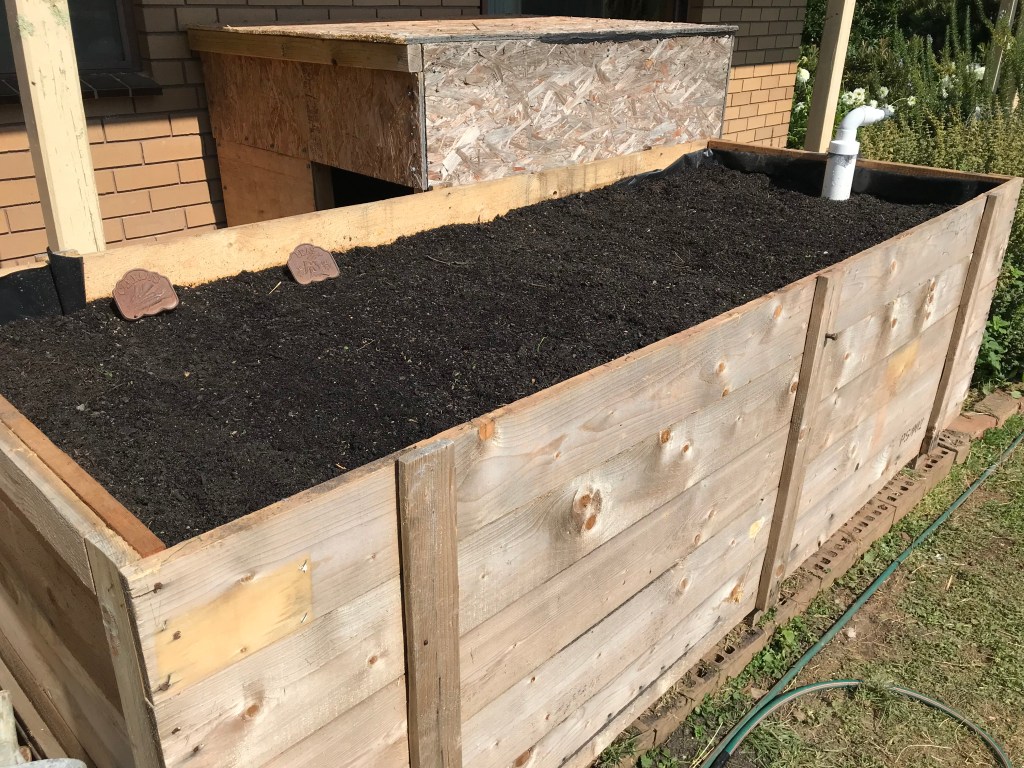
So now the wicking bed has vegetables growing in it and is ready for our next hot Summer.
Did you build a wicking bed? Feel free to share your experience to help those who are contemplating building one.


What a resourceful use of a disused wooden box. I am sure you will produce many nutritious vegetables in there.
LikeLiked by 1 person
I hope so! 🙂 We couldn’t believe the box was just going to get broken up and burnt. It does my head in that so many people find it easier to do this than to try and rehome and reuse stuff.
LikeLiked by 1 person
I love reading how resourceful you are with objects and material discarded by others.
LikeLiked by 1 person
Hi, we have two wicking boxes on our balcony in North Carlton. Made from old pallets. They work beautifully, most recently producing a huge harvest of beans from just three little beans.
LikeLiked by 1 person
Thanks for sharing a photo with me on Instagram Tim, they look fabulous!
LikeLike
Wow that wooden box is such a good score!
LikeLiked by 1 person
Love the box-and the idea of the drain being low for full dumping… I’m curious if you’ve ever attempted/thought of using plastic bottles etc vs the rock as scoria? I am unable to recycle after moving to a very rural area & thought of repurposing the plastic in a wicking bed vs. purchasing rock… thoughts?
LikeLiked by 1 person
Funny you should ask that because I’m building more and have been thinking of collecting milk bottles to use instead of scoria or to reduce the amount of scoria I use to save money. I’m going to give it a go.
LikeLike